ZBRUSH TUTORIAL 01: ADDING NEW GEOMETRY
I know Zbrush 4R7 has powerful modeling tools. I am also a big fan of Sebastian Legrain's work pioneering the future of freestyle modeling. I personally try to adopt new techniques. That said, I am a hybrid modeler that transitions between Maya or 3DS Max and Zbrush because of the advantages of both. I used to try to keep my low poly and high poly being connected by the same level in Zbrush but my work flow over the years have been modified to always have a low res that is optimized for games and use xnormal to bake normal maps. For the purposes of my first tutorial is to demonstrate why its never too early or too late to go to Zbrush and back to maya. First off I love the move brush in Zbrush for pushing vertices around. Its definitely made for an artist in mind. Its much better then grabbing vertices in Maya.
HISTORICAL CONTEXT
When I studied modeling, the limitations of poly modeling required modelers to spin faces for proper edgeloop flow. Its really good for sub-D techniques. The idea of appending faces or extruding pieces to model a face would be considered way to tedious and this was the next level of modeling evolution in the early 2000s. However as this was going on, my mentor Tareq Mirza was abandoning the spin face techniques he had developed for speed modeling and replaced it was purely Zbrush and poly extrusion. Tareq was the modeler famous for his work at Industrial Light and Magic and worked on many films.
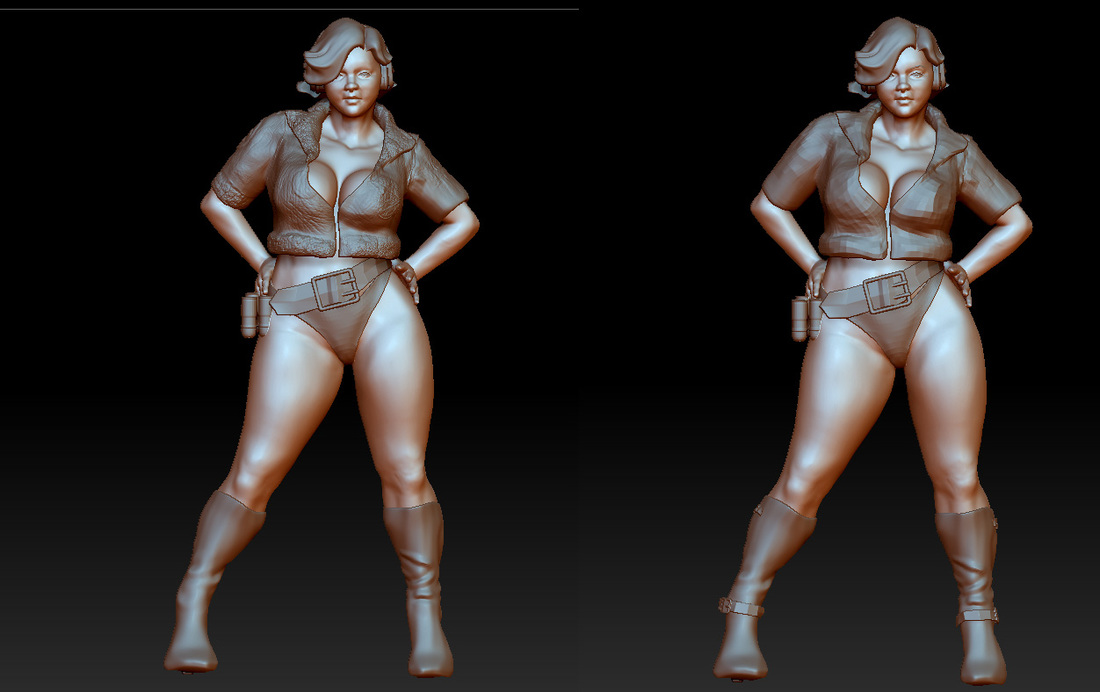
This is my female character that is inspired by 1940s WASP pilots and superheros. Hence the underwear. I am still working on the composition. The purpose of this composition is add new details to the boot without loosing the high res sculpt. Its never too late to add detail and its never too early to into Zbrush and use it to sculpt your mesh.

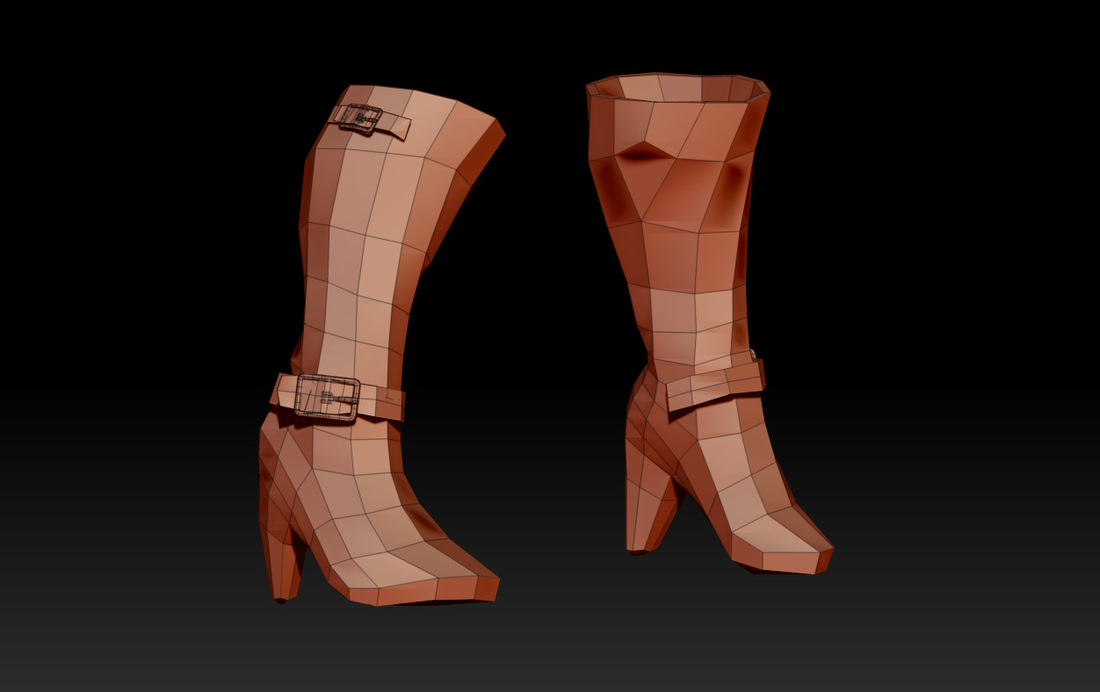
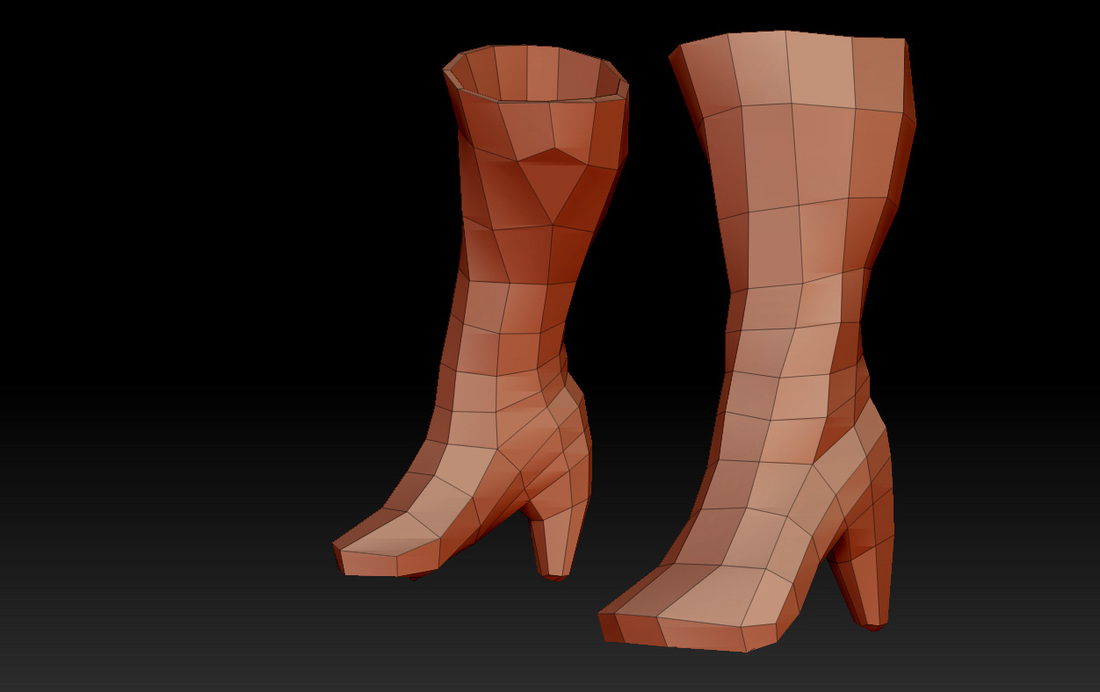
1. ADD NEW DETAIL TO MESHInitially the boots were made from making a duplicate of the female mesh, I then deleted the faces that made up the body and the foot leaving only the faces below the knee. I then combined the geometry with a modeled boot cap and extruded the heel. You can see I scupted the boot to some degree. Not my best work but I like the folds I made in the leather. I don't want to loose that detail but I wanted to introduce bootstraps without loosing my high resolution data by working on a new model.
|
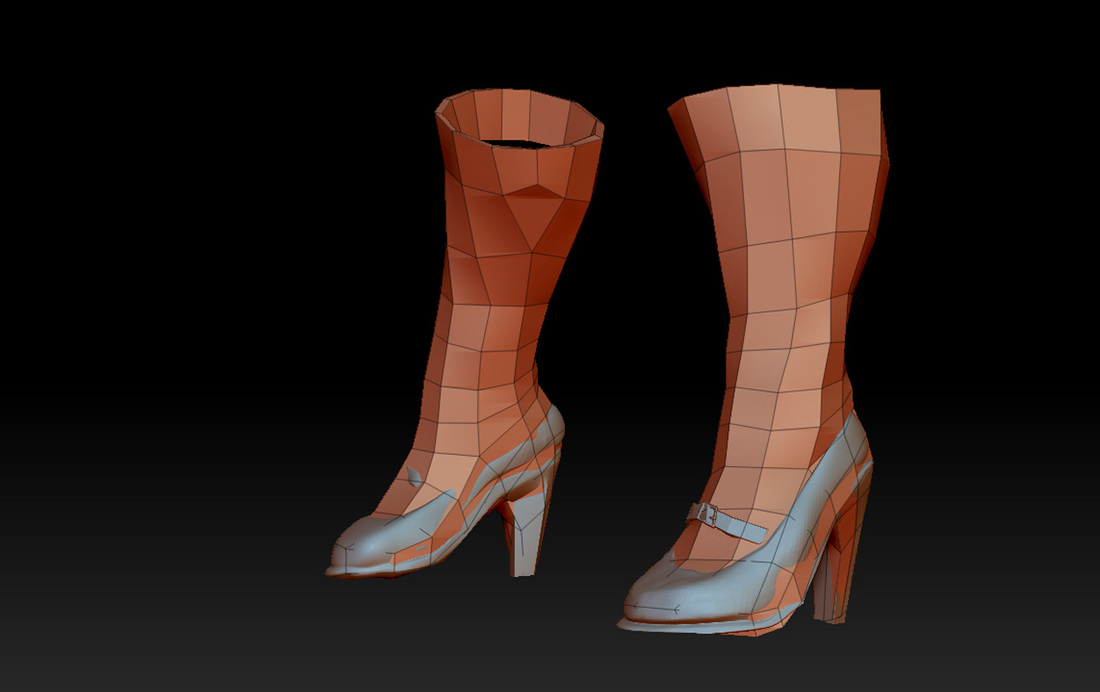
2. APPEND NEW SUBTOOLFirst I took my old mesh to Maya and then I added a new set of buckles and straps. Lets bring it back to Zbrush and append the new geometry.
|
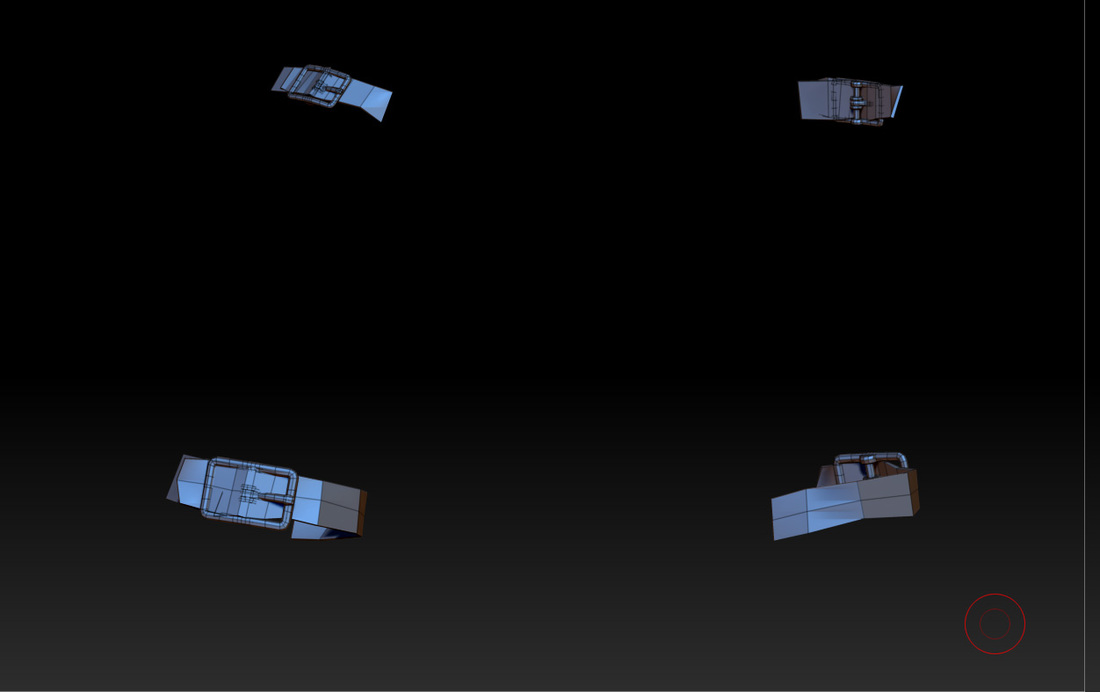
3. POLYGROUP VISIBLE ELEMENTSNext I am going to hide the boot geometry and group the visible into a new poly group. This allows me to isolate my new pieces.
|
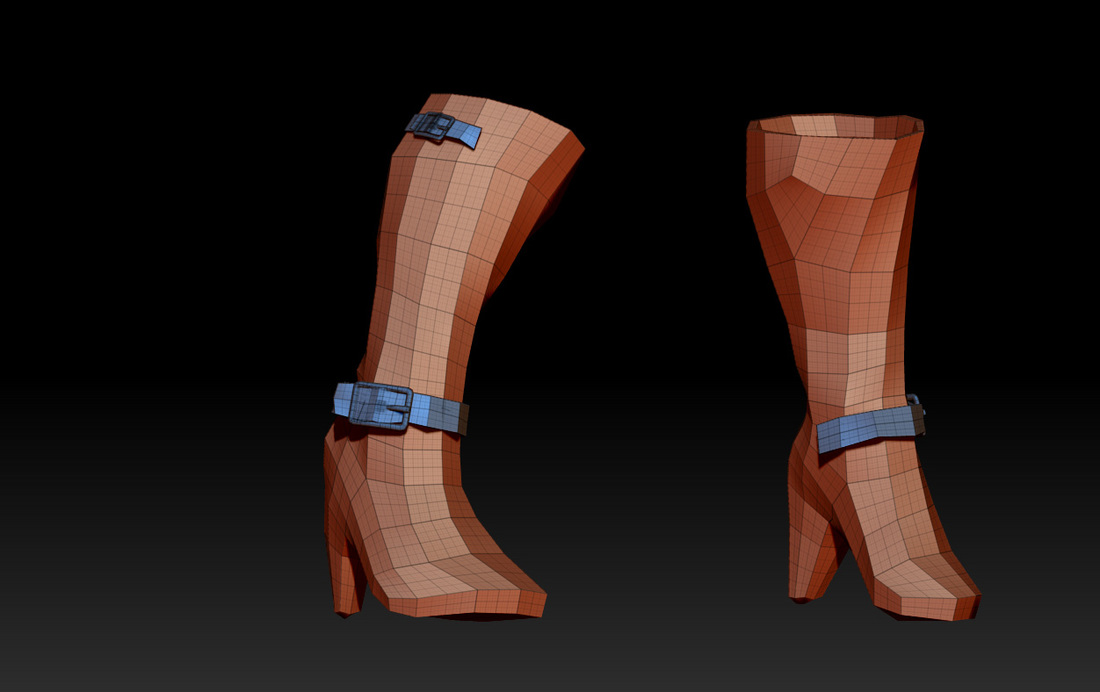
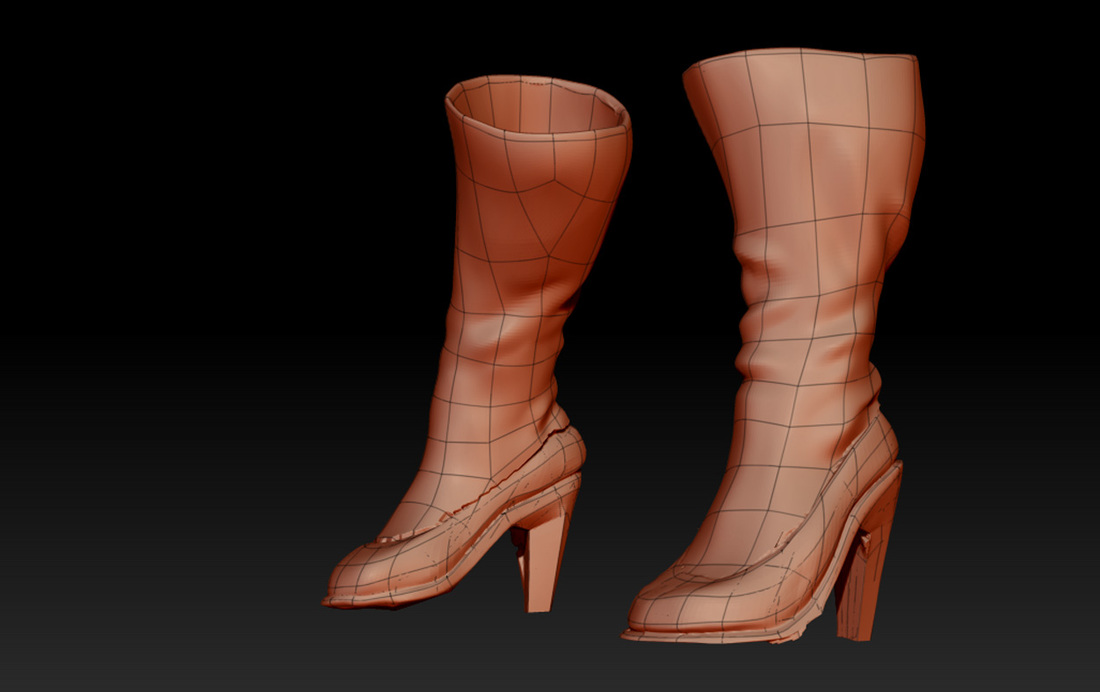
4. UPRES GEOMETRYHere I am going to upres the geometry to be the same level as the old boot.
|
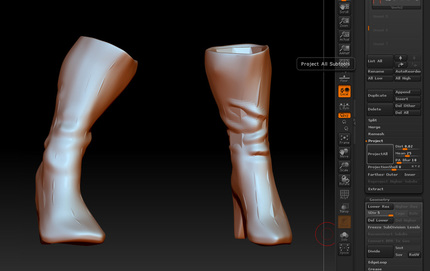
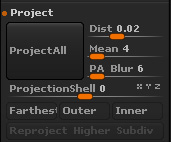
5. PROJECT SURFACE TO THE NEW MODELNo on the active layer of the new boot, Make the old boot visible in its highest resolution and then project the surface.
|
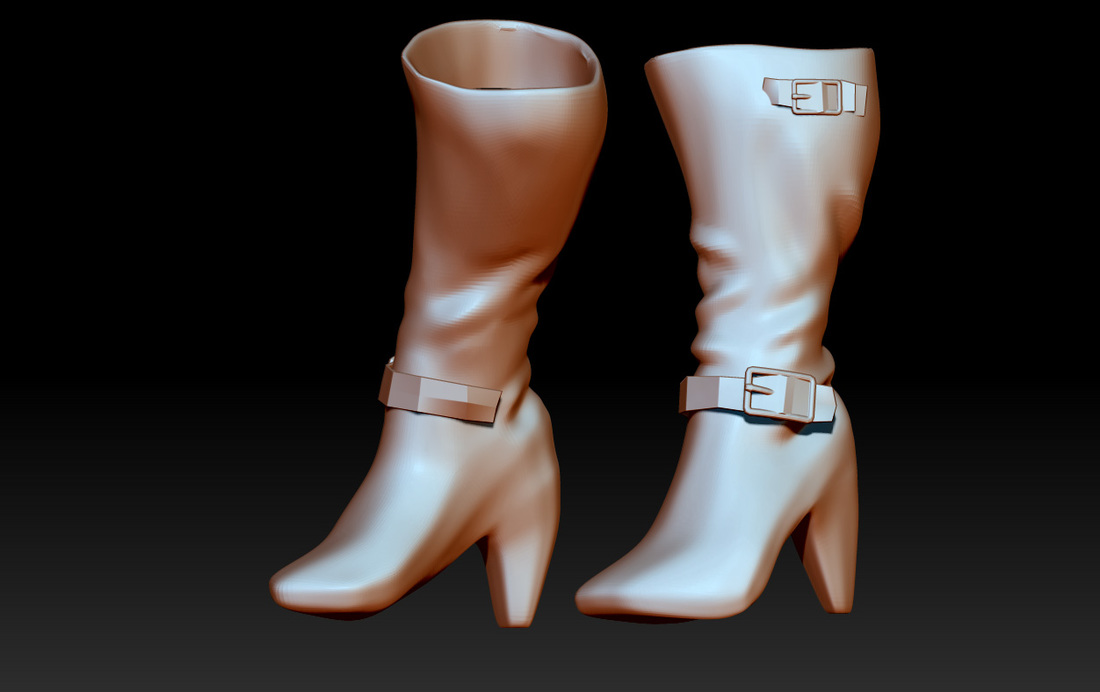
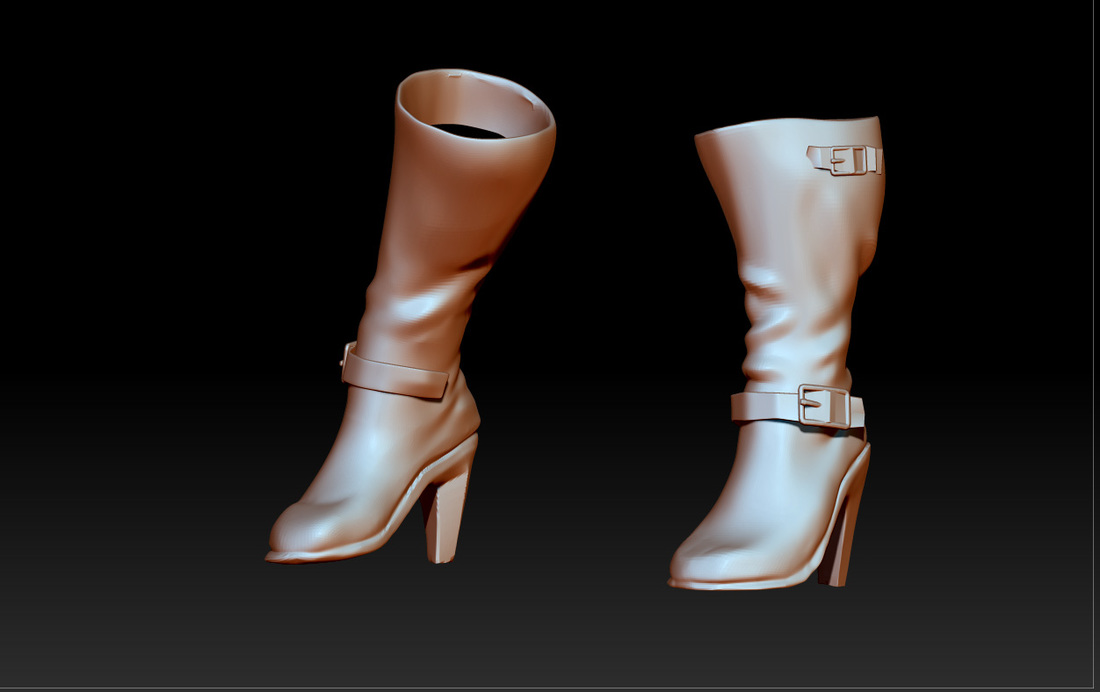
6. DELETE OLD SUBTOOLNow we can make the straps visible with the new straps. Now I have higher model details on another polygroup without loosing my previous models detail. I can now delete the original boot. Of course its not necessary to delete the old boot but it serves no purpose and will bog your model down. I hope this was of help. Thank you for reading my tutorial and good luck on your own models.
|
PROJECTION ONTO MESHES
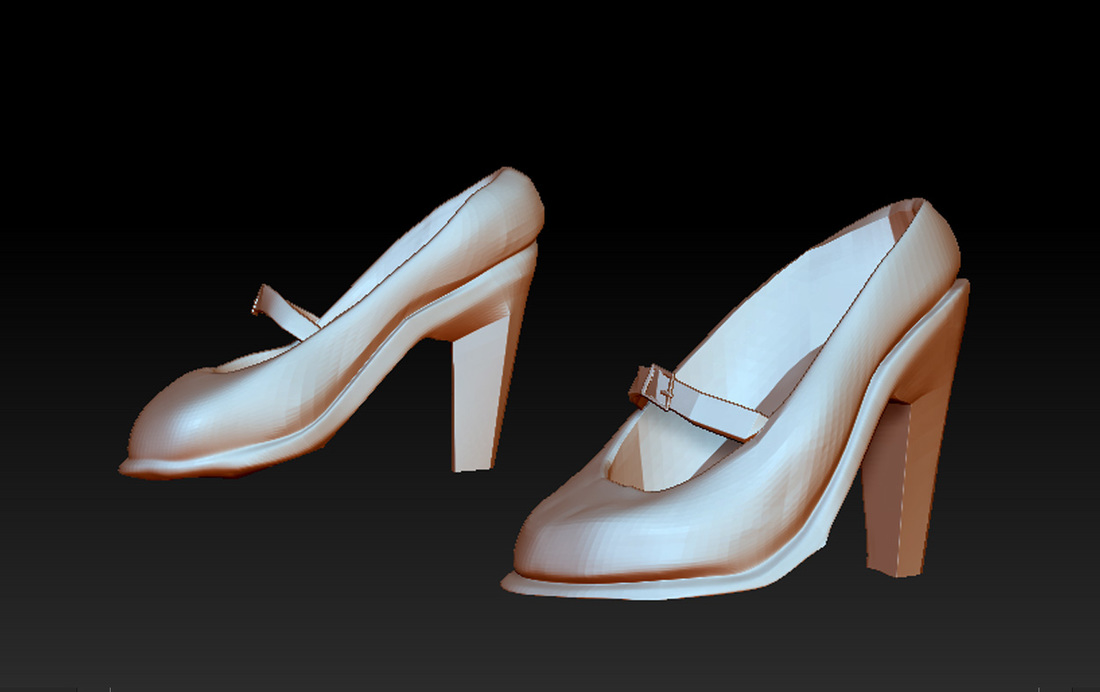
1. APPEND NEW MESHLets try borrowing Zbrush information from another mesh. Same concept with a twist. Here I have a pair of heels. I abandoned them during the design process of my female character. At first was was to show more of the anatomy and the detail of the foot but I found it didn't match the character design
|
2. LOWRES MESH ADJUSTMENTSThis is the lowers mesh. I am going to use the projection tool to make sure that most of the mesh is aligned with the heel. Especially at the heel and base.
|
3. REALIGNMENT BY PROJECTIONBy usein gthe projection I can insure alignment which will make a less buggy transfer when I go to high res. Before I am ready for the high res transfer I have to hide geometry form the heels in low res so I don't transfer unwanted surface detail to my highres boots.
|
4. HIGHRES PROJECTIONThe high resolution projection was a success. Now I need to do some light smoothing to buff out unwanted detail and errors. I might have to do it a few times before I get a perfect transfer where I want it on the geometry. I can always retopo the mesh later but for now I think it works.
|
FINISHED PRODUCT
Here we have the sole transferred onto my boot and I think it looks nice. In the future I would put the sole as a separate material so I can apply different shaders and makes a cleaner more realistic model. I suppose in games I would just have that area of the defuse map behave differently or apply a different shader to the face of the boot. Theres no right or wrong answer really. I hope this tutorial wasn't sole sucking. Sorry about the pun.
PROJECTION IS THE NEW BOOLEAN
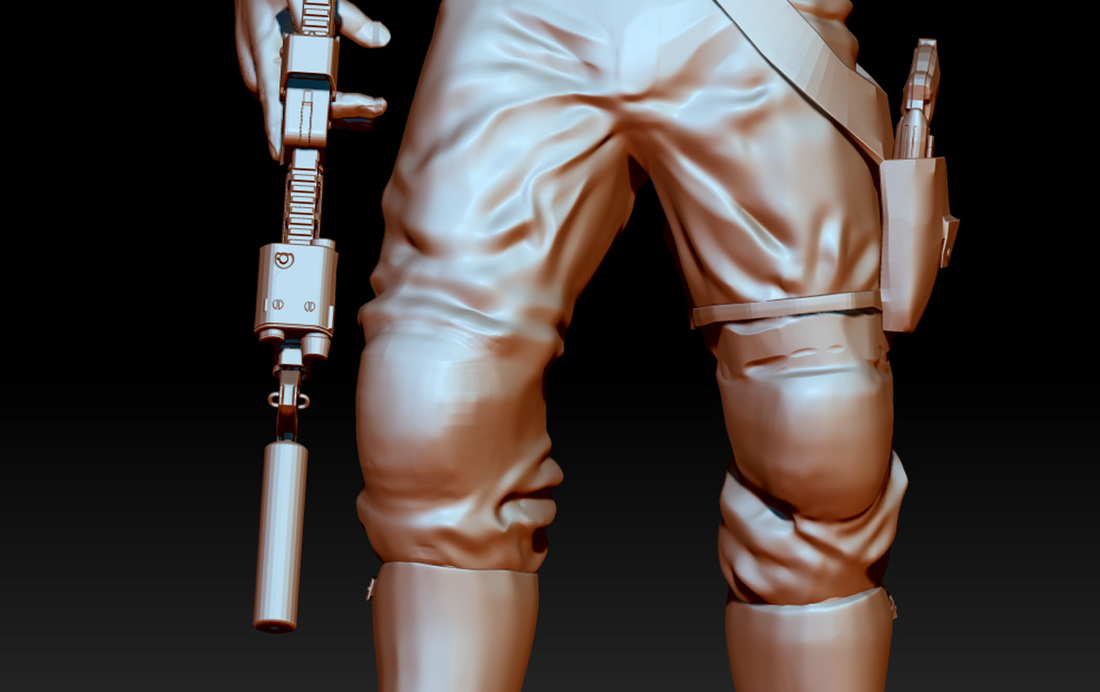
1. ZBRUSH APPROXIMATE PADS |
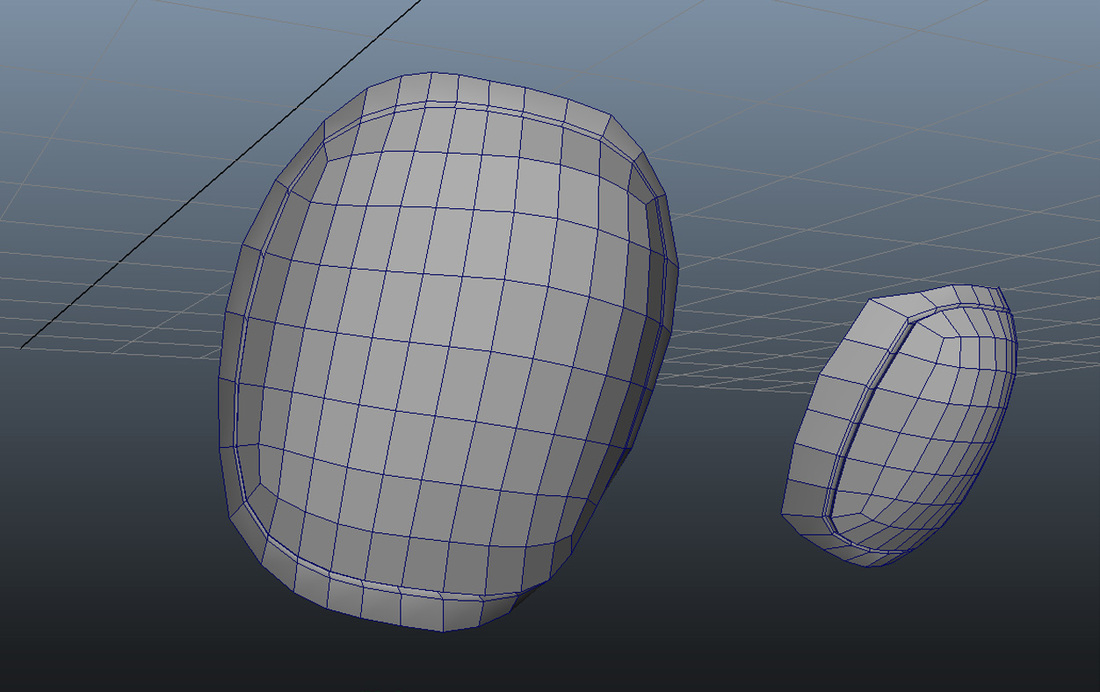
2. MODEL NEW KNEE PADS |
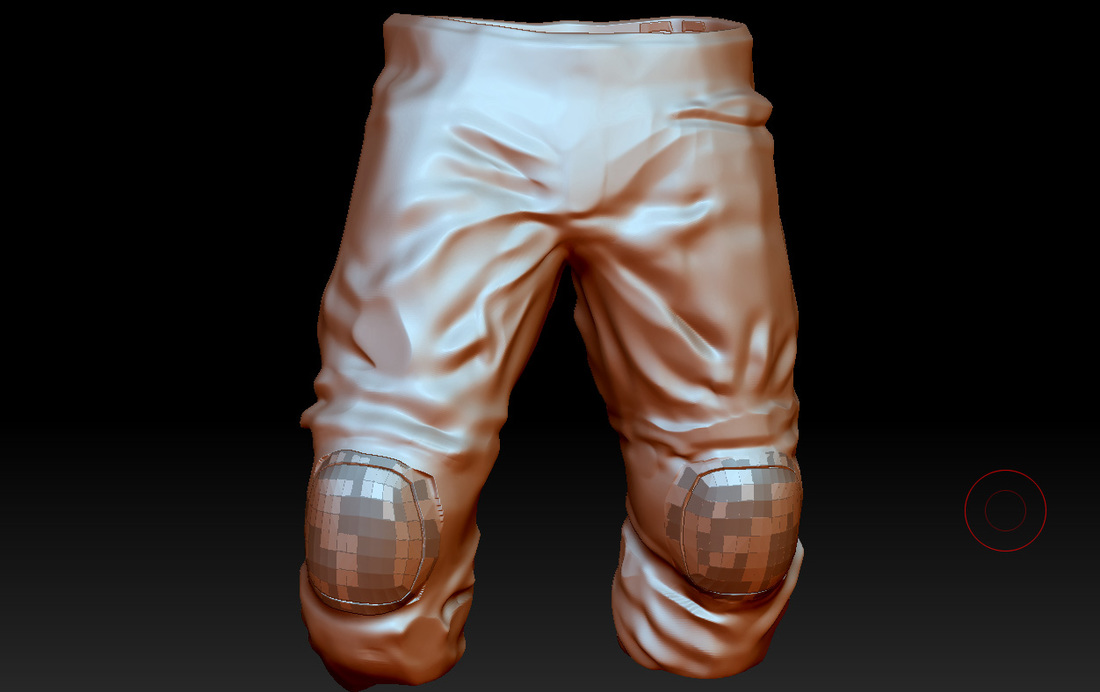
3.ZBRUSH PROJECTION TOOLI like projection because I can put dense edge-loop detail like the rim of the knee pads without having a poly lopsided geometry on the low level. It would be nice if ZBRUSH can procedural made a a new low-res that is efficient enough for games.
|
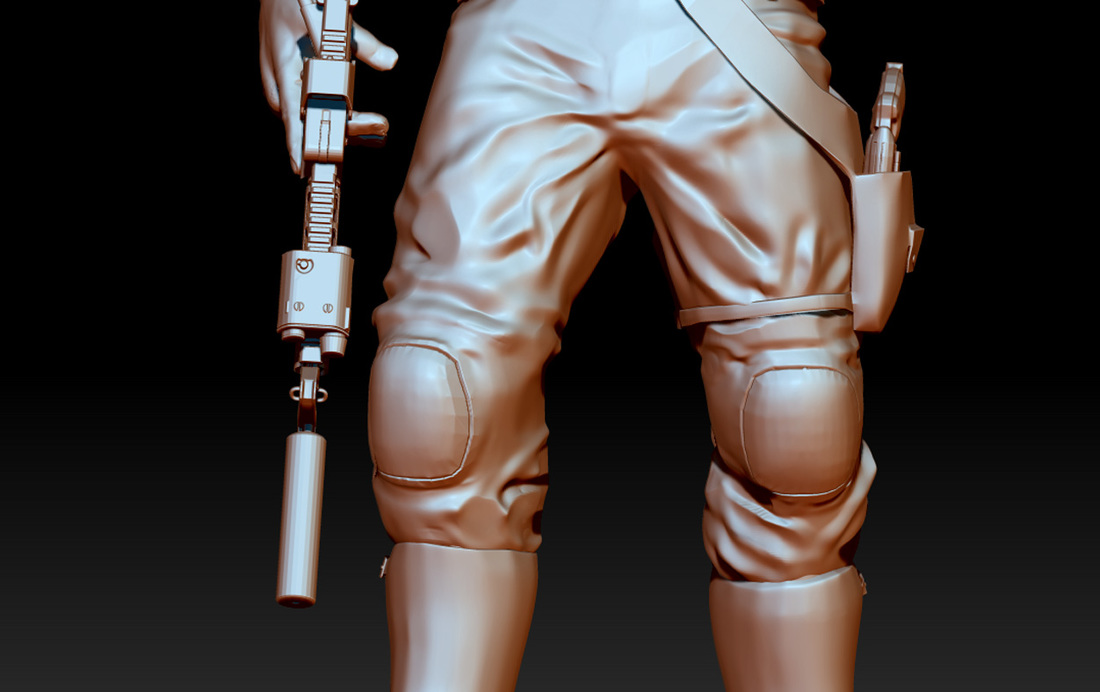
4. SYMMETRICAL KNEE PADSNext is to add rivets and vents. I am trying to achieve the Crye precision look. I might need a prequel tutorial on cloth folds. When I made the first folds we used the Z-Brush 2 and 3's standard tool. Now the fold tool makes life a whole lot easier but you need to always go back make sure you using it the right direction. It would be nice to have a gravity brush but there is a gravity slider. I personally just use the move brush to simulate the effects of gravity.
|