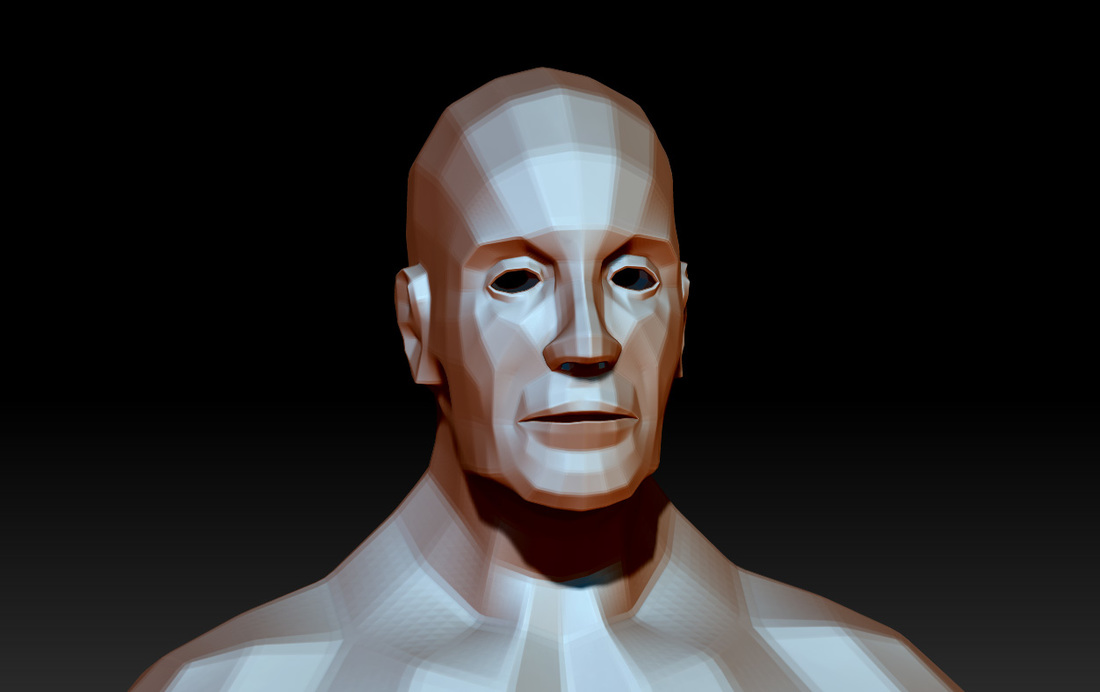
SCULPTING THE HUMAN ANATOMY FROM A BADLY EXTRUDED BOX
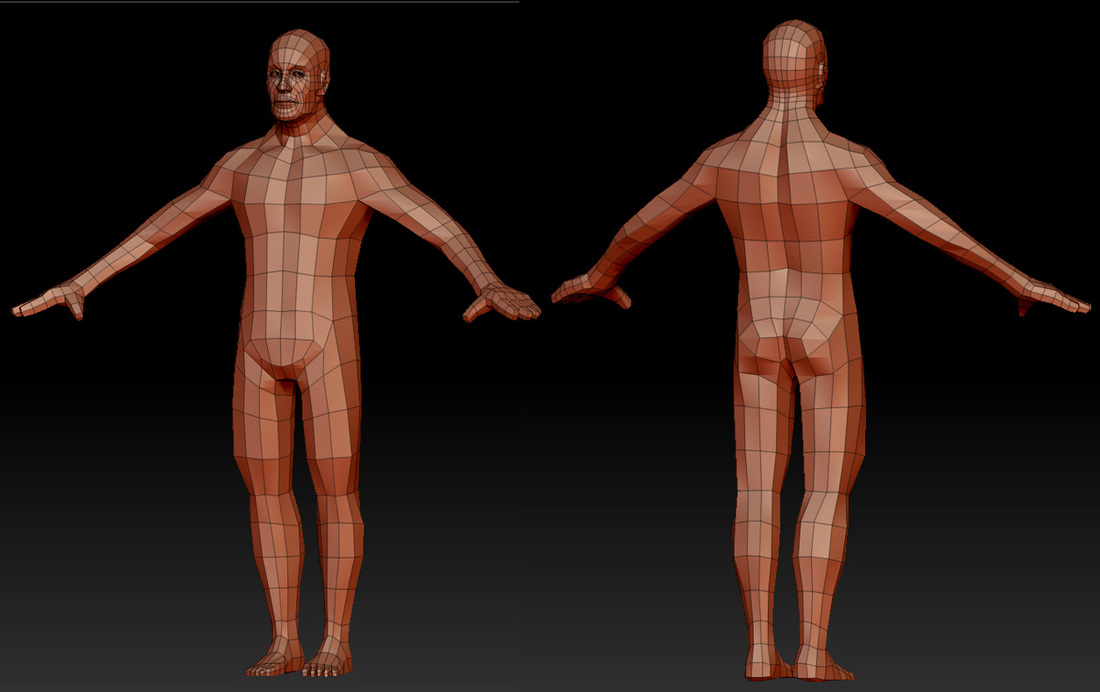
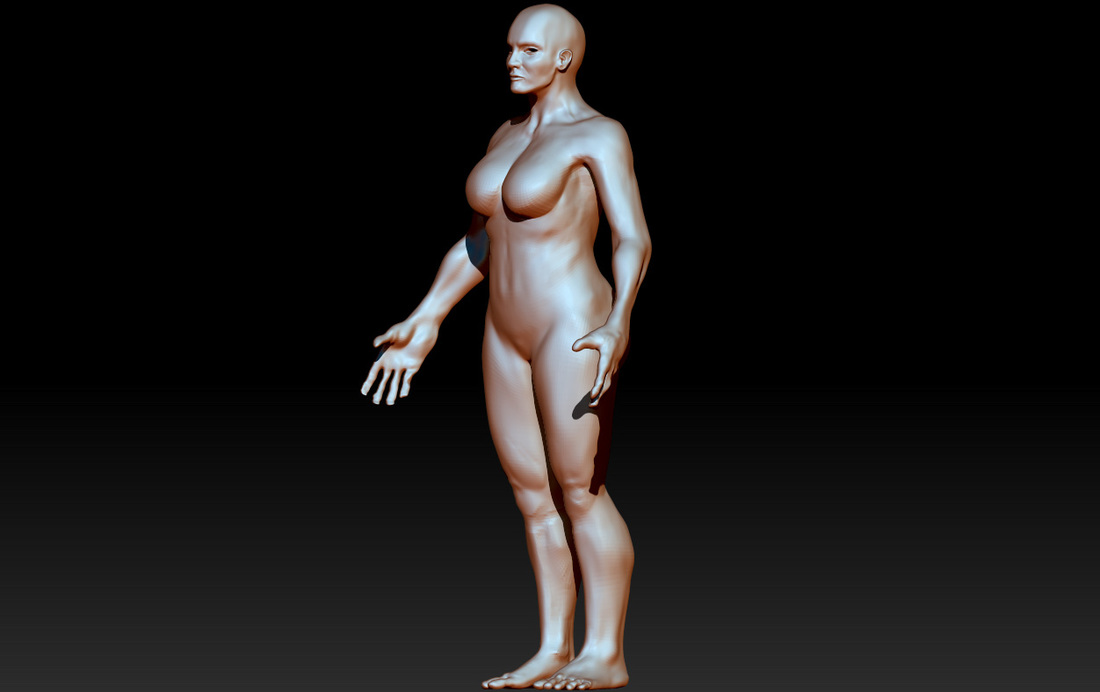
Thats right, we don't have to have a proper model anymore. I usually use the same base model over and over all my models but this is a model I made from poly box extrusion. Its a lot more simple then a Tareq Mirza spin face model from the early 2000. For those of you who don't know who Tareq Mirza is, he was my teacher and developed a system of modeling that uses the spin face custom tool for Maya to create edge-loops that deform the model in sub D to make proper muscle form in Maya. Since the development of Zbrush, we now make models from simplified box extrusion and keep the models evenly spaced quad models.. Extruding muscle groups like the back of the arm or the bicep actually make the model worse because it creates dimple points in the zbrush. Sometimes it helps because it makes the model subdivide into proper muscle groups. Notice how the head is slightly more dense then rest of the body. Its actually a good thing because the denser part of any organic model should be the face.
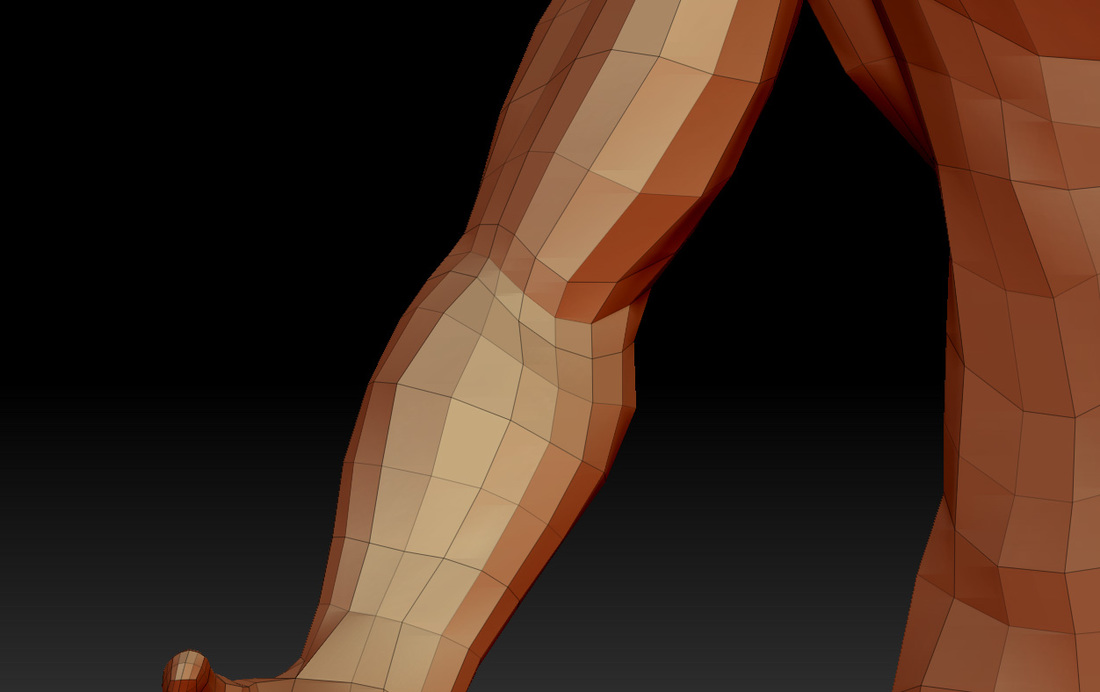
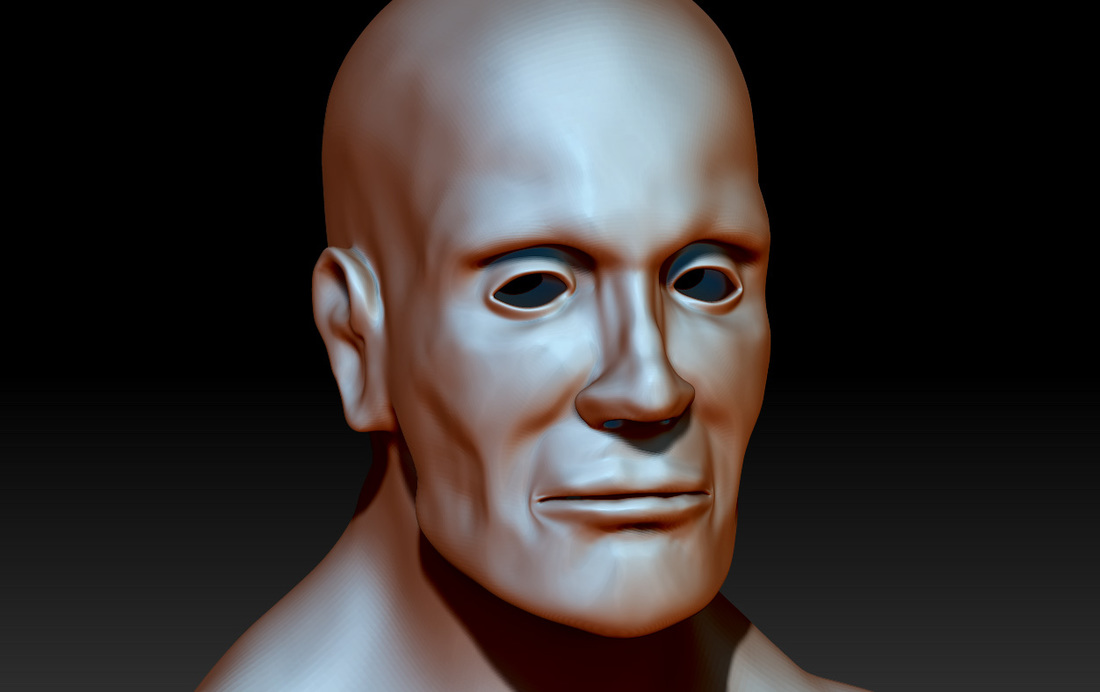
I did notice that the top of the biceps is not lined up with the inside forearm. This is a mistake but lets run with it. I have taken this low res model from one of my students. Otherwise a trademark of any of my human 3d models is that it has spin face artifacts from my Tareq Mirza style of modeling still in it but simplified. I call it my hybrid models.
I did notice that the top of the biceps is not lined up with the inside forearm. This is a mistake but lets run with it. I have taken this low res model from one of my students. Otherwise a trademark of any of my human 3d models is that it has spin face artifacts from my Tareq Mirza style of modeling still in it but simplified. I call it my hybrid models.
I LIKE TO MOVE IT MOVE ITThe move brush is better than Maya's soft select by far. Push the vertices into place to form the pectoralis major flowing into the shoulder.
|
RAMP UP DIVISIONSHere is a good place to work. Use tubes and wide standard brush to form the muscles.
|
|
|
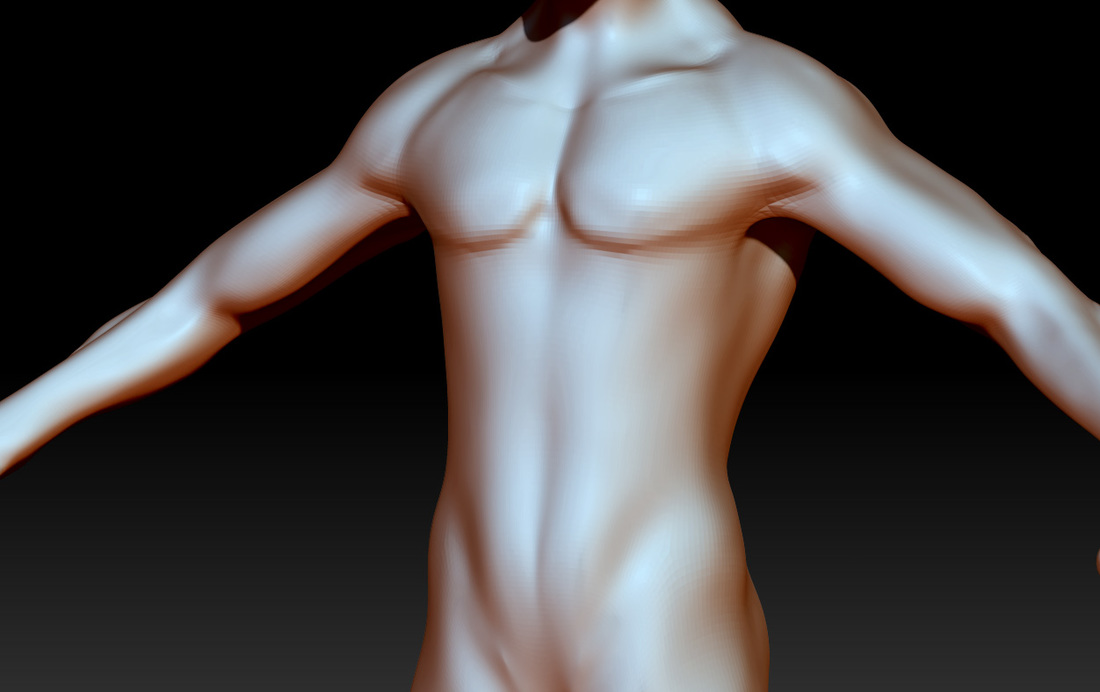
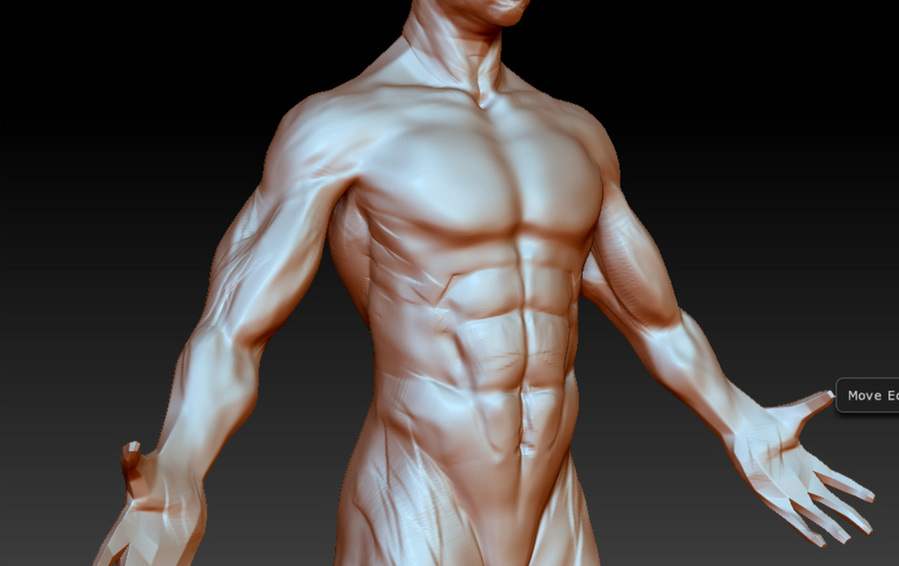
PECTORALIS MAJORAfter i sculpt the chest, I make sure there is a trench down the midsection. It becomes useful in the process to making abs
|
ABDOMINAL MUSCLESI start by using the standard brush to push in the abs, then I follow up with the clay tubes to build up each pack.
|
TORSOI like using the clay tools to build up the torso muscles. I found that the standard brush is too lumpy. I like using smooth and pinch. This part of Zbrush is like being auto body guy. Inflation is pretty good at a low level. I also started in on the clavicles.
|
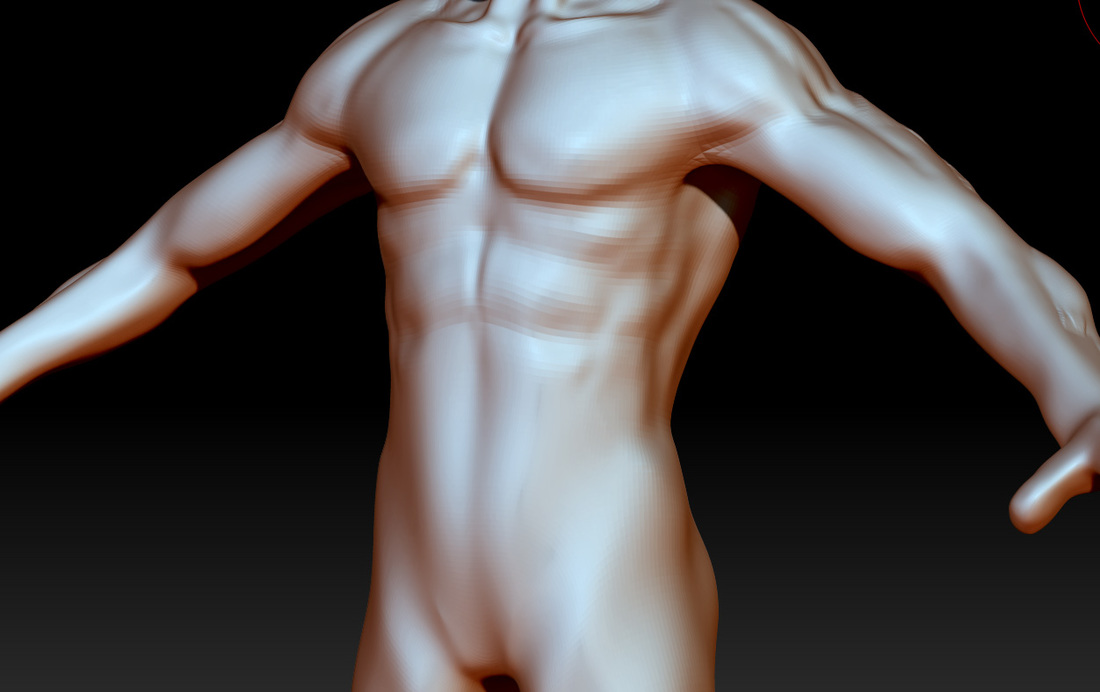
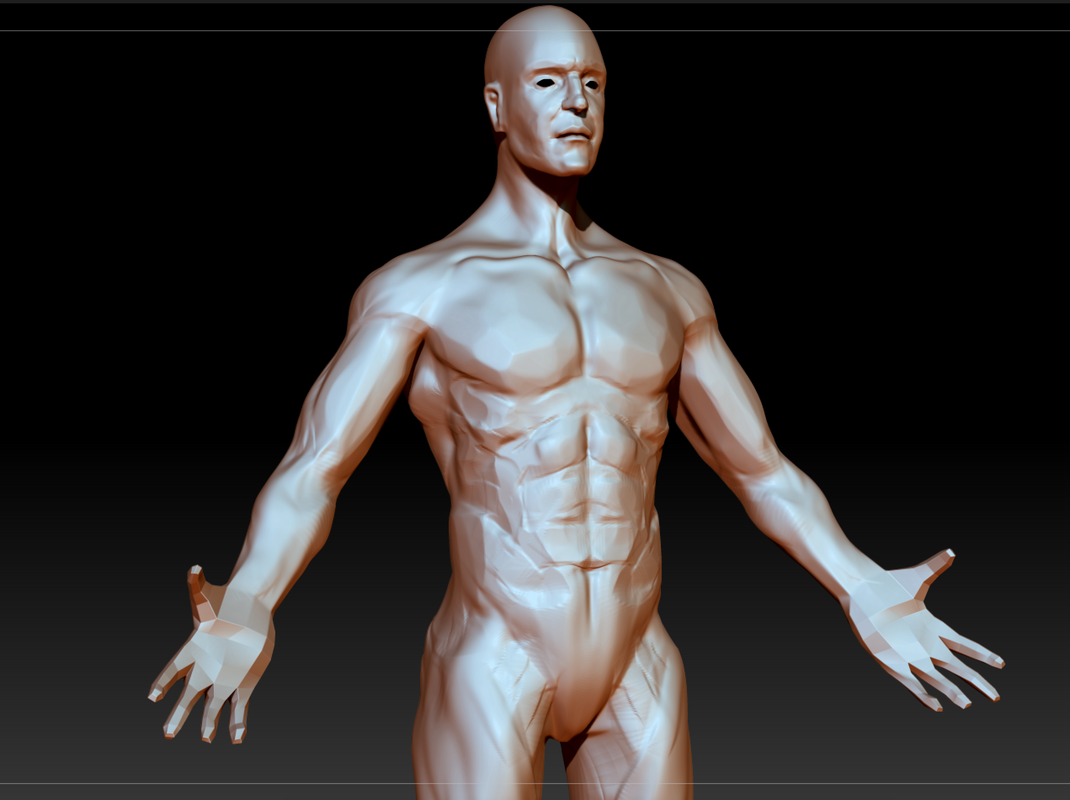
VERSION 1This level of detail fine. I usually start to use other tools to either smooth out the dents. If my character has subcutaneous fat its a good opportunity, to clay build up over this.
|
VERSION 2 CLAY BUILDUP
I do a new sculpt every semester based on the same level 1 mesh. 6.16.16 I am teaching modeling for games and did this about 20 mins. I just keep trying to get faster and better.
WIP TRIM SMOOTH DYNAMIC METHOD
We are artists. Lets face it, a body scan can do a much better job of reproducing reality. The goal of a 3D artist is the same of an illustrator and to really give the 3D artist the same freedom create and express their version of reality. Using the TRIM series of tools really make this blocky stylization fun and easy to make. I used make models like this in Zbrush 2 because when I modeled people. I liked making them stylized as rough shapes. I was inspired to make characters that was inspired by Marv from Sin City. The problem was with the older Zbrush was that in order to achieve this look, I had to use PINCH and FLATTEN. Its fine if have a clear idea of the style in your head but really slow if you're sculpting and searching for the form.
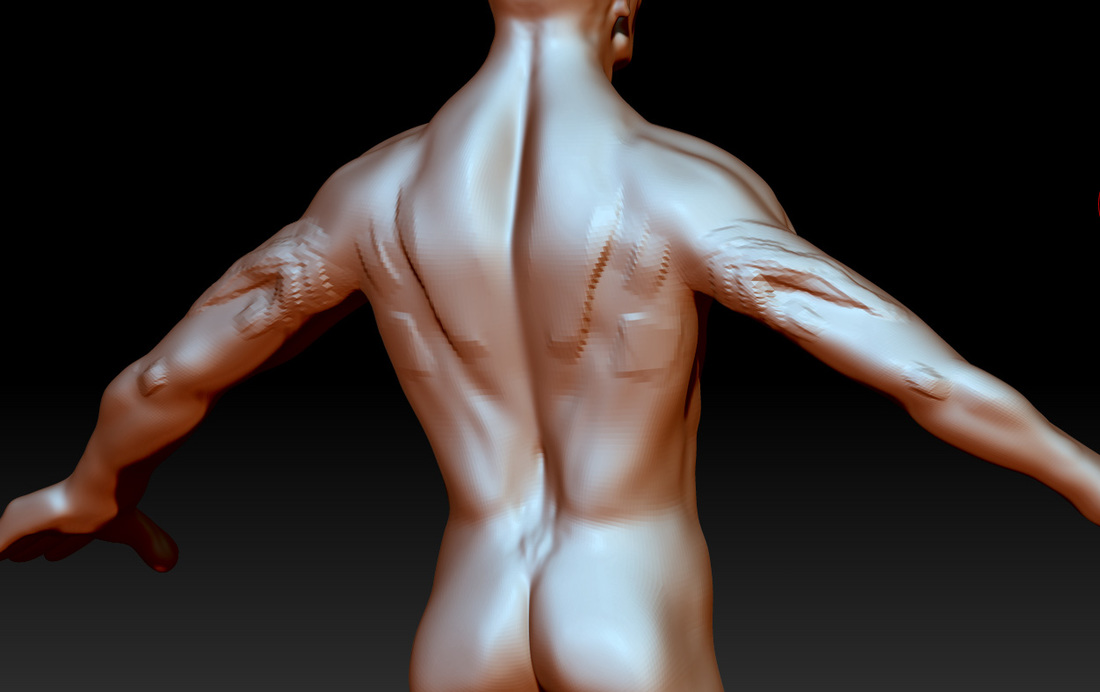
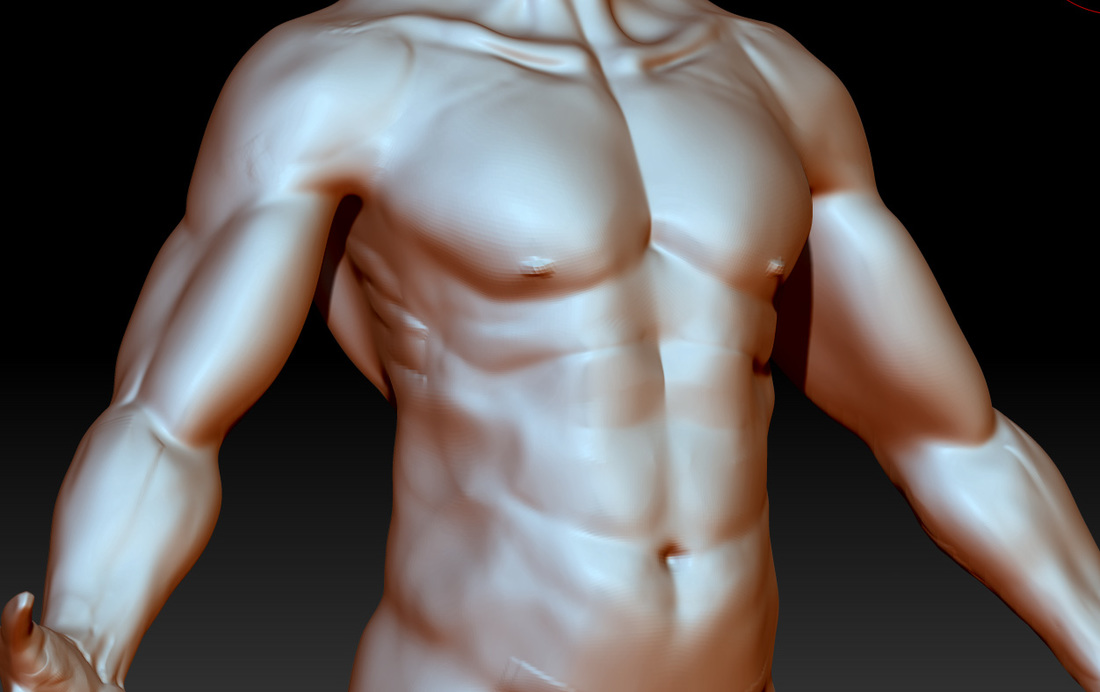
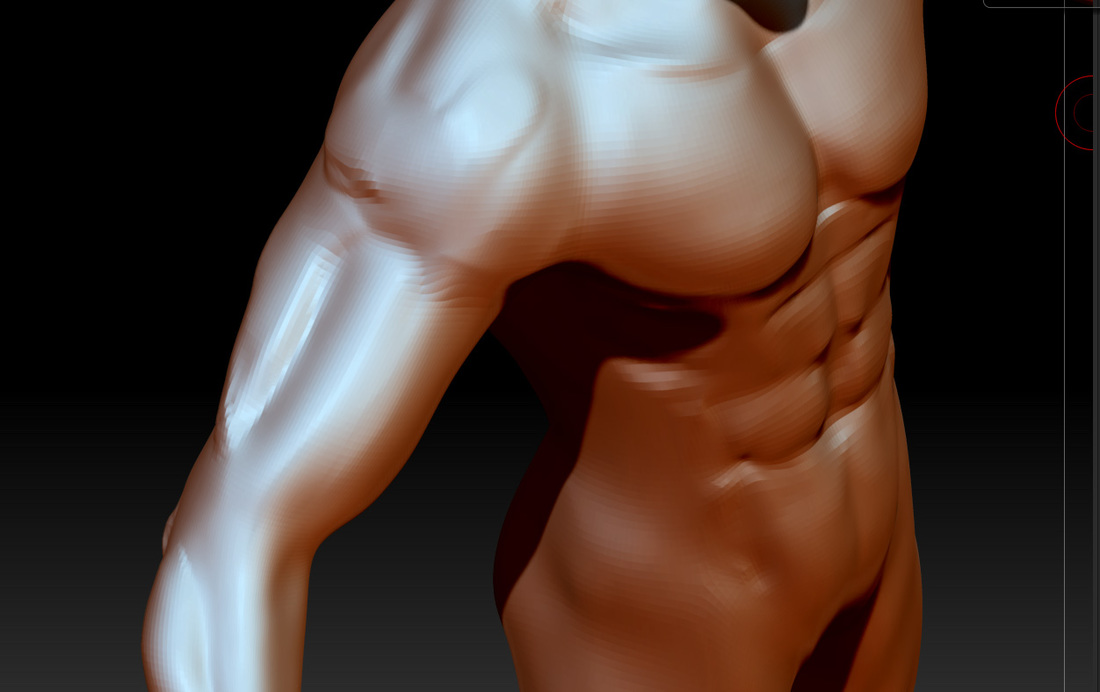
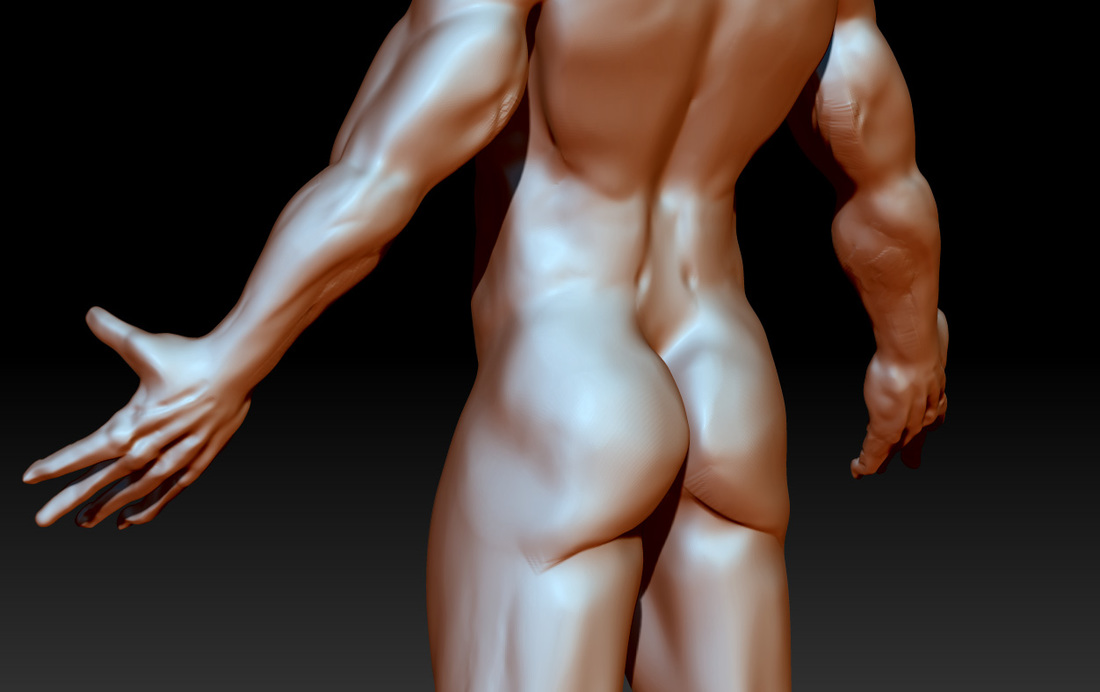
BACKImagining the spine is key to an accurate back. I have smoothed out the lower back muscles. I started using clay tubes to make the lats form back to the front. You can see I already started clay tubes on the triceps. I will start a section on the arms but lets worry about the chest before we section up the arms.
|
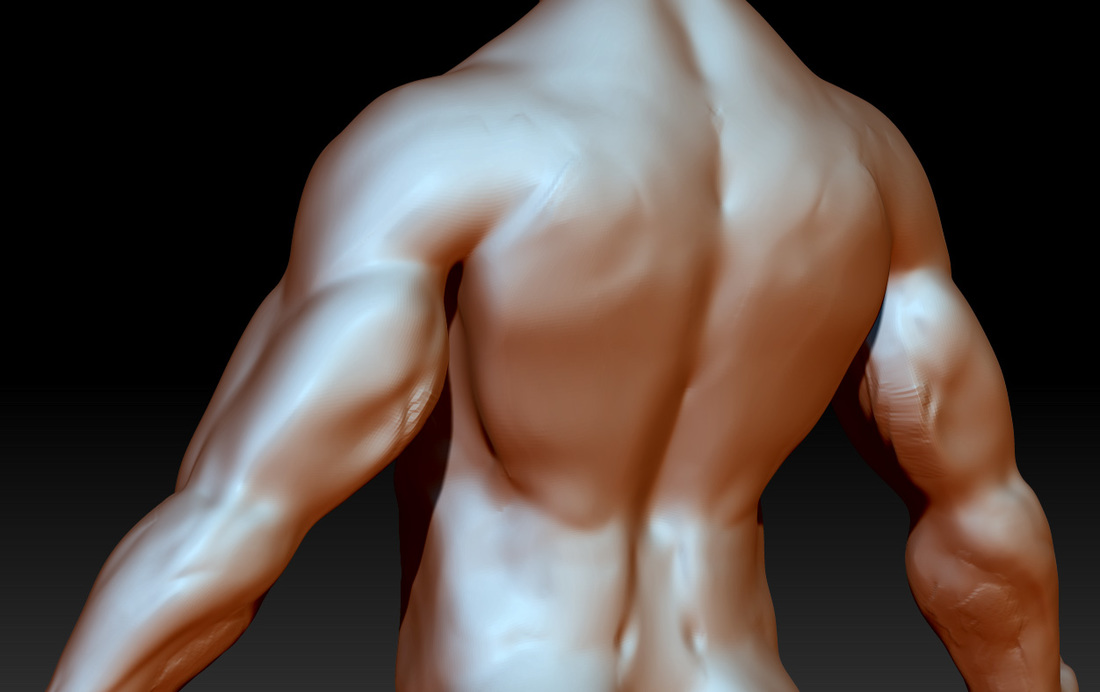
BACK 2 BACKI meant to use these two slides to illustrate that the front and back must be looked at as one piece. As you can see I pulled out the lat muscles and they need to appear on the front and back. I started forming the ribs. You can see this is still just a clay tubes brush. Notice this back has less definition then above. This is because I am imagining skin over my anatomically correct muscles.
TORSO should be done in 2 hours |
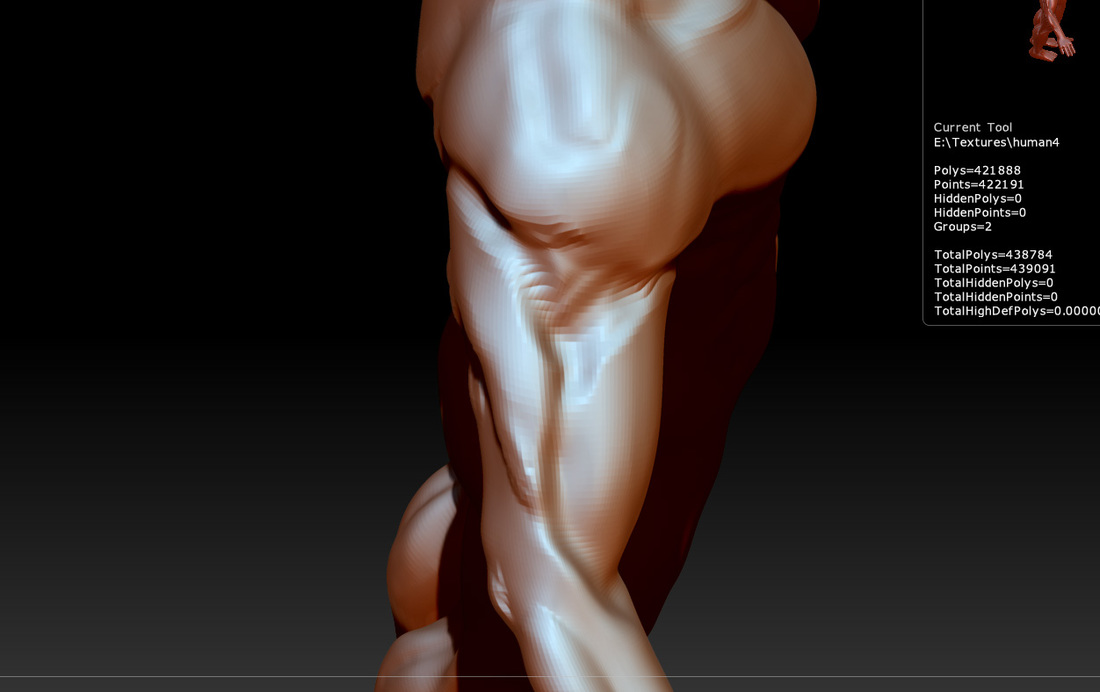
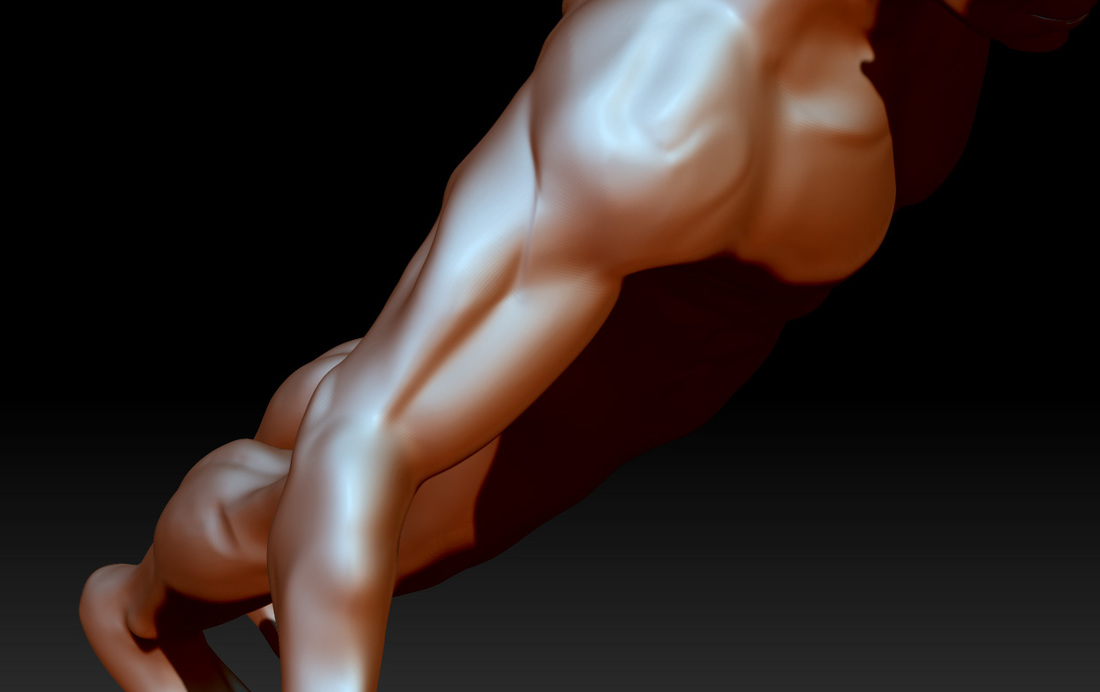
BICEPS, TRICEPS AND SHOULDERS |

FORMING THE BICEPS |
|
|
FOREARM
As you noticed I turned the model palm up. I don't like the square forearm but working the muscles on the inside is harder for me when palm down because there is a muscle that wraps around from the elbow over the top.
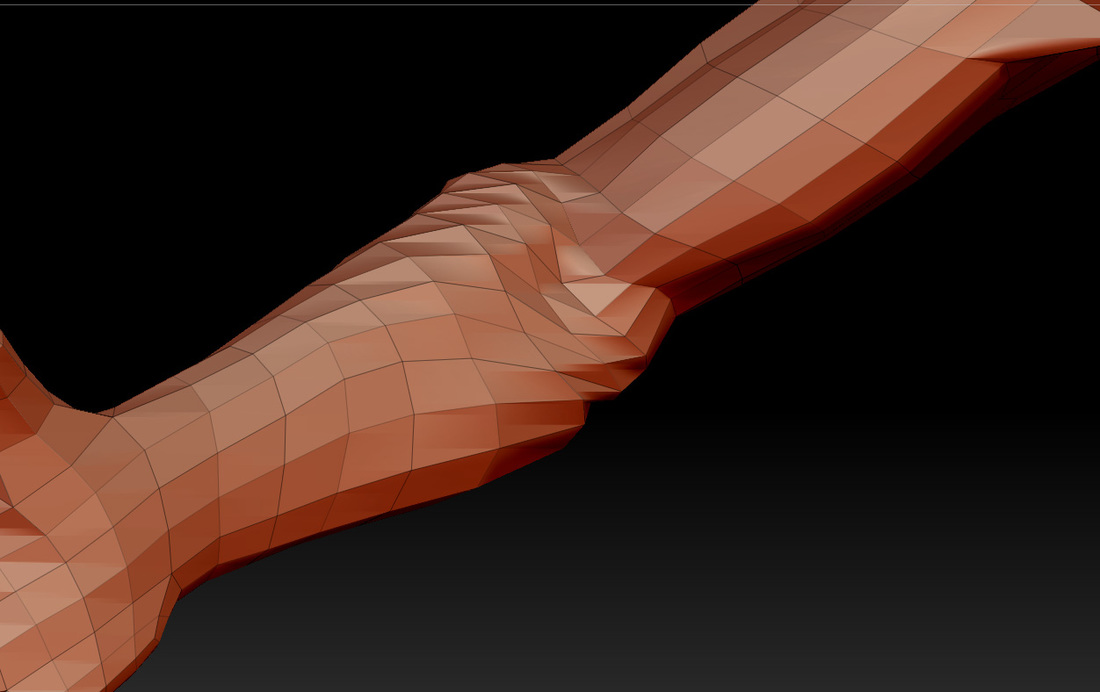
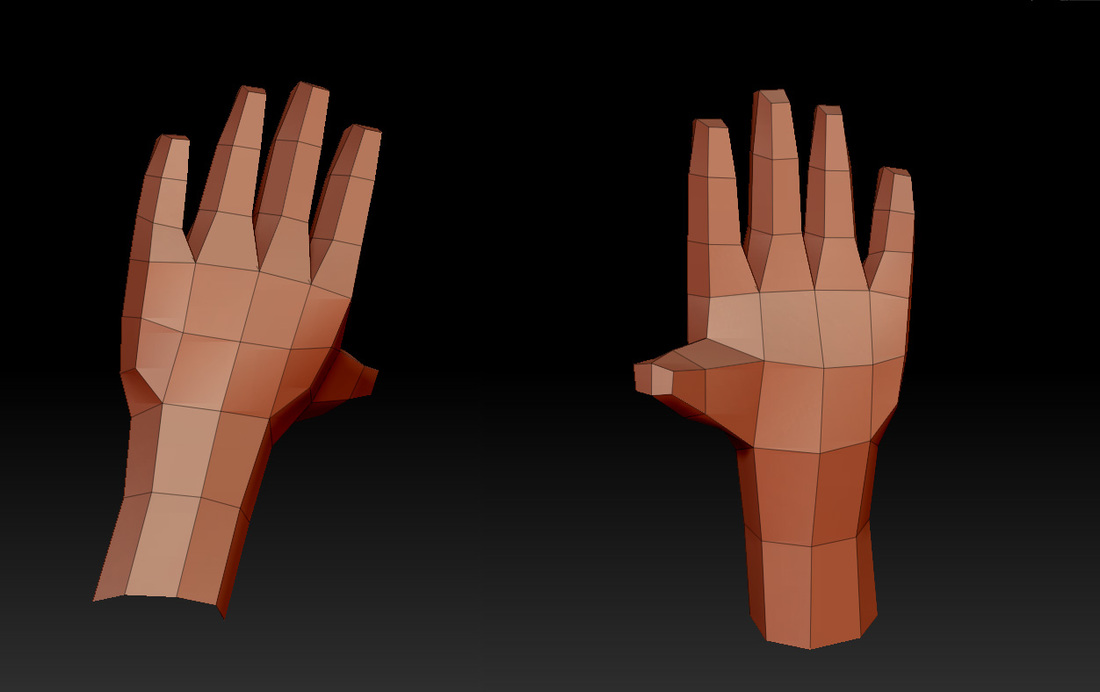
RETOPOI don't like that twisted up geometry. Lets retopo it. I mentioned earlier that I needed to redo it. If anything, I would prefer those to twist the other way. I can delete an edge loop, Delete the inner geometry and then re-appended them aligned.
|
RETOPO 2Inside forearm lines up with bicep. This will be better for animation.
|
OUTSIDE FORARM |
HANDS
SHOW OF HANDSIf you start with hands like this you have to do a lot of sculpting on your own.If you are comfortable with the form you can start with something like this.
|
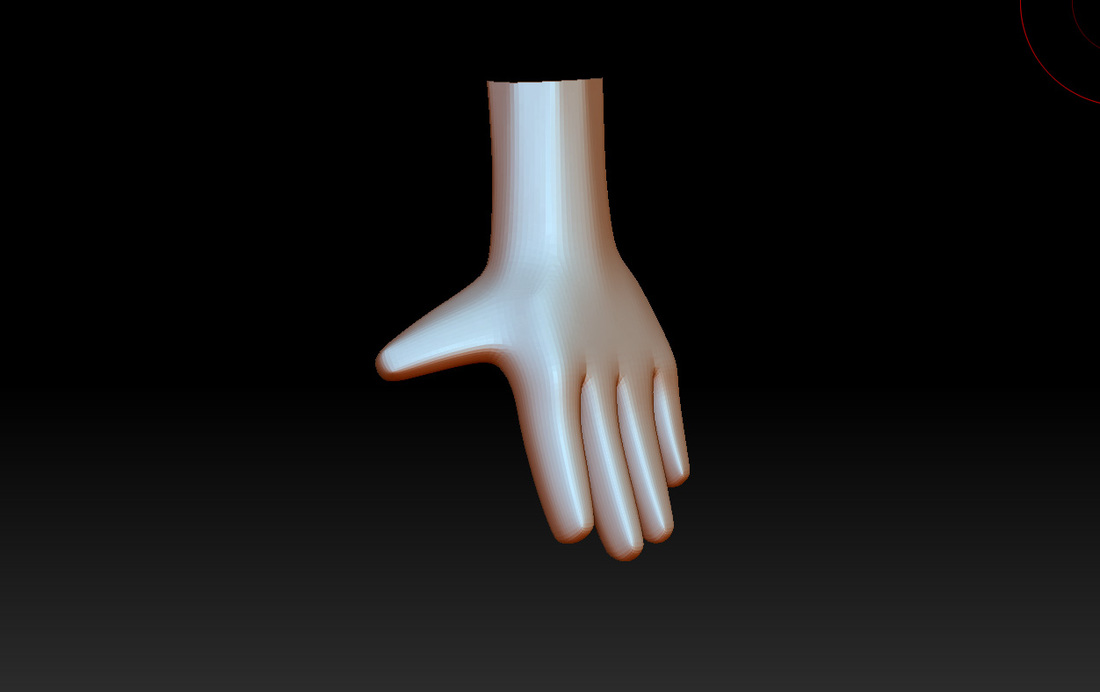
HIGH FIVEHighres that geometry
PALMStart to form the thumb and the palm muscles.
|
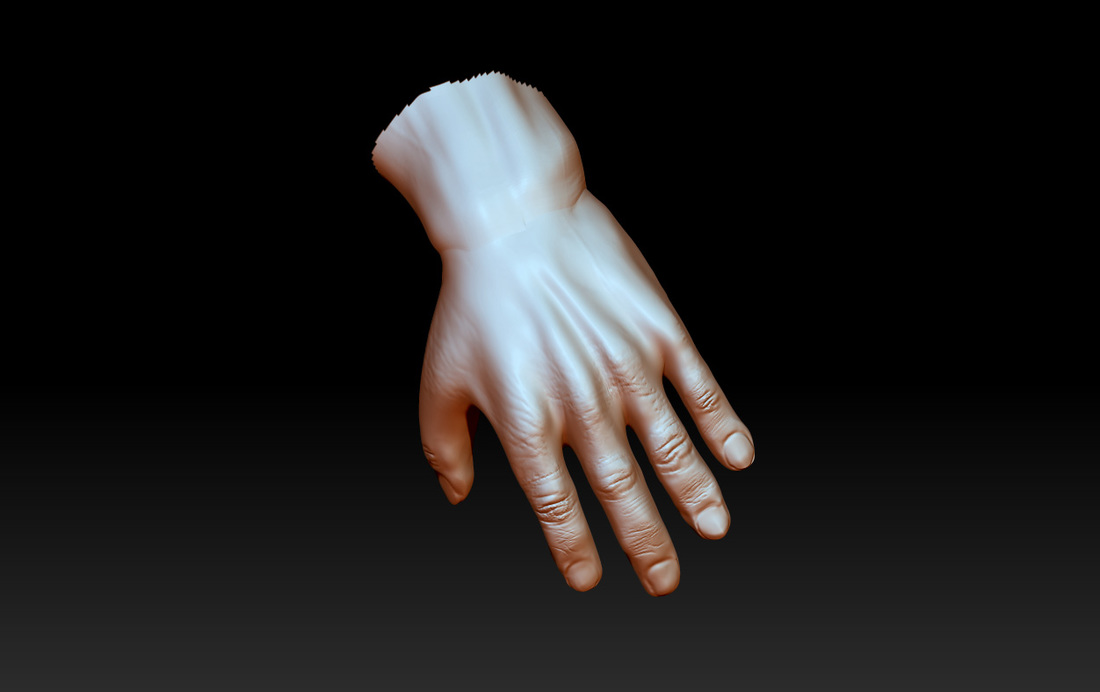
BACK HANDThere are a lot of bones in the hand that form into the muscle. Sculpt them in but then smooth them away.
|
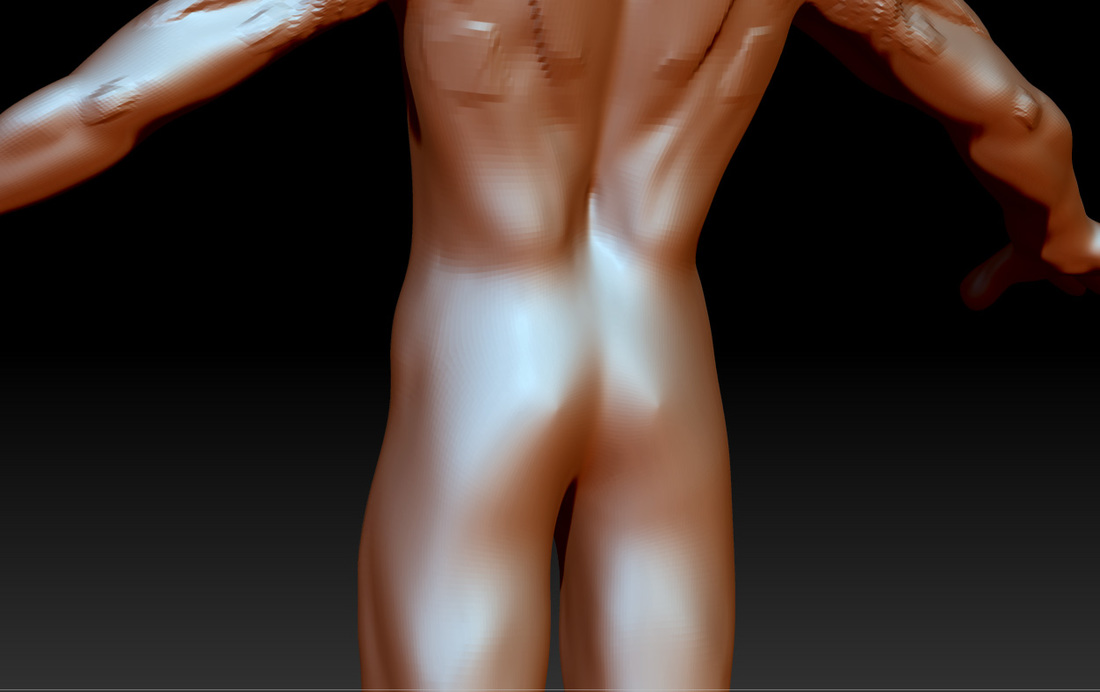
GLUTS |
|
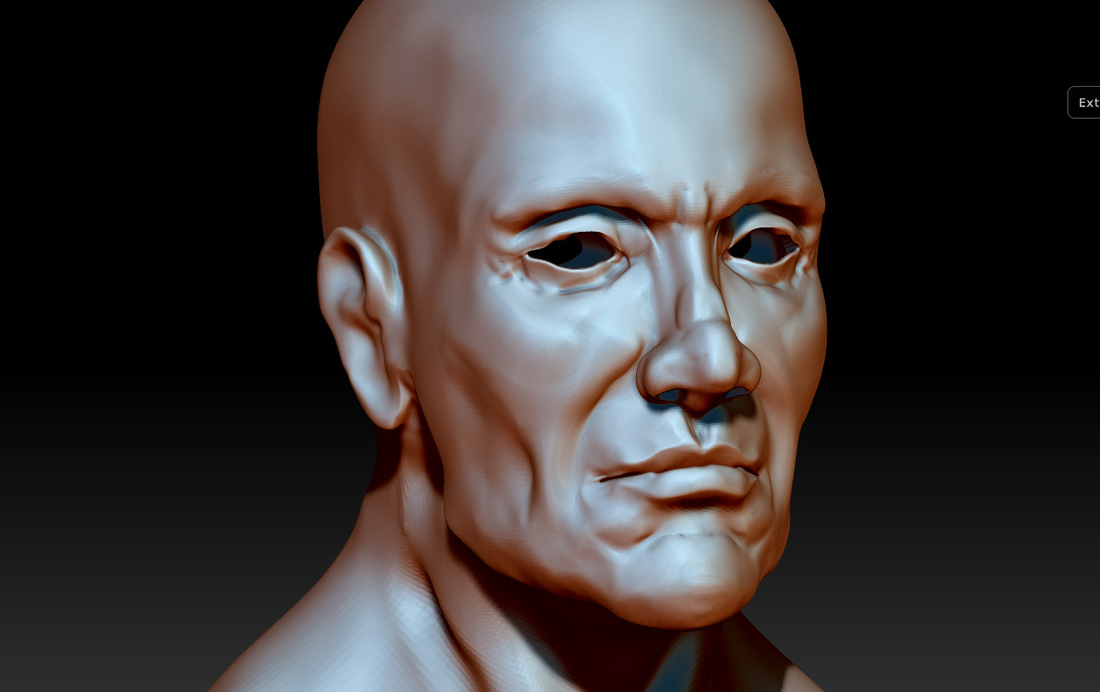
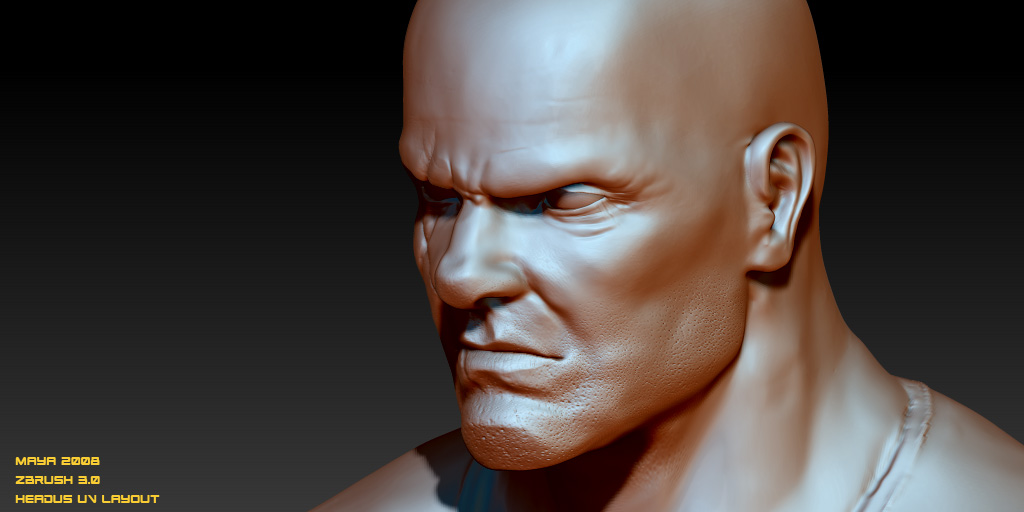
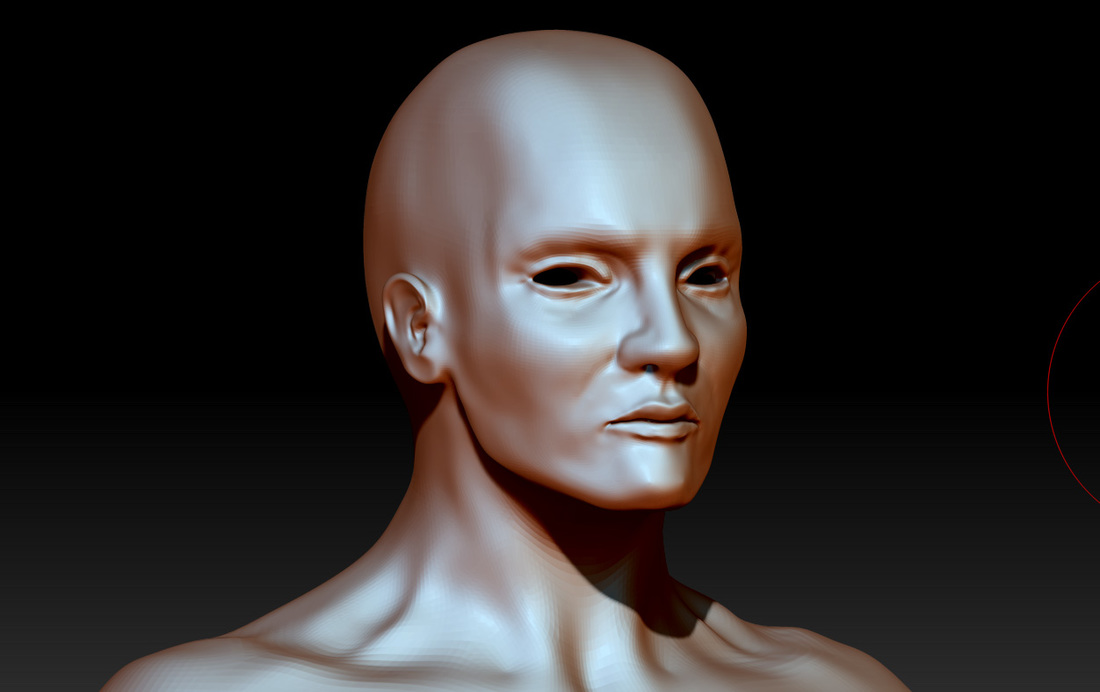
FACE OFF
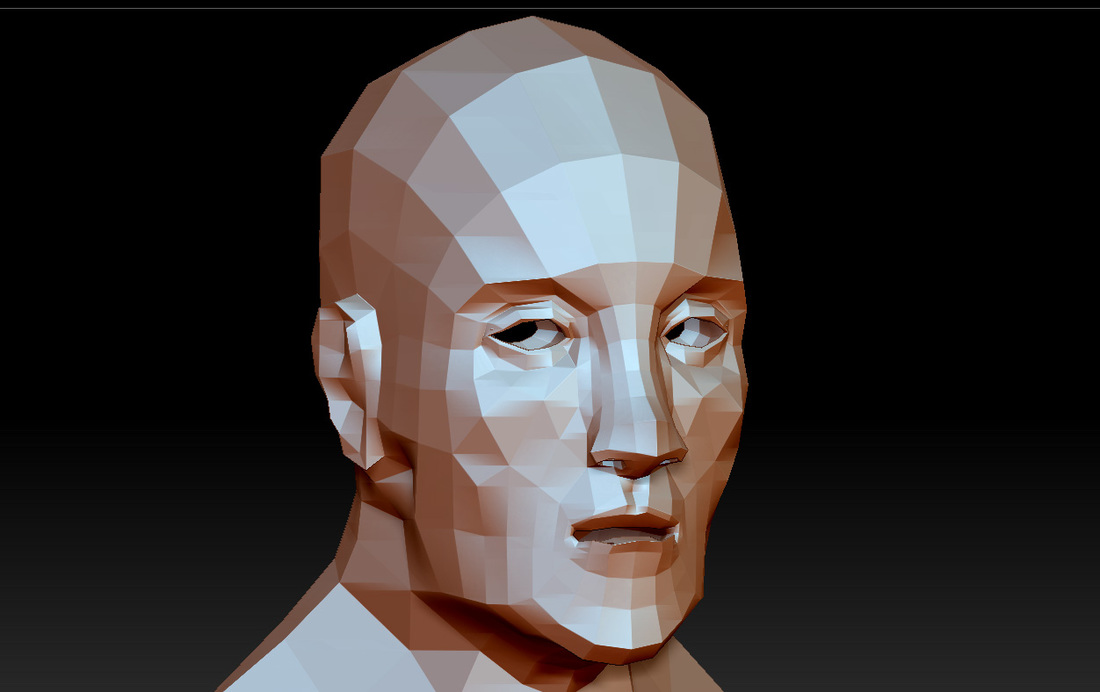
FACEI stretch the mouth out a bit. Not necessary but I like to make sure I can follow the planes of the lips. I will compress them back later.
|
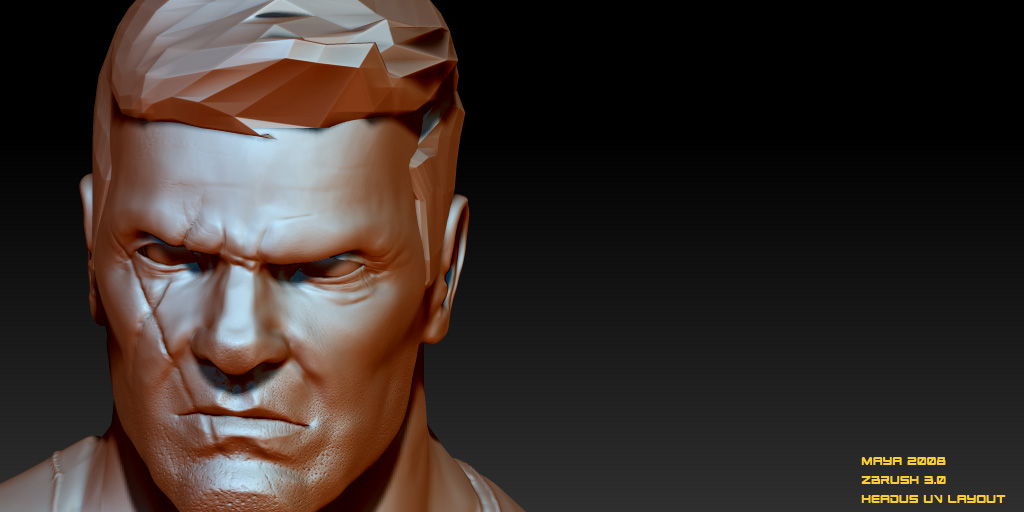
SUBDIVIDESubdivided 4 times. 3 times without the smooth modifier and one time with the smooth modifier
|
GENERIC AMORPHOUS FACE |
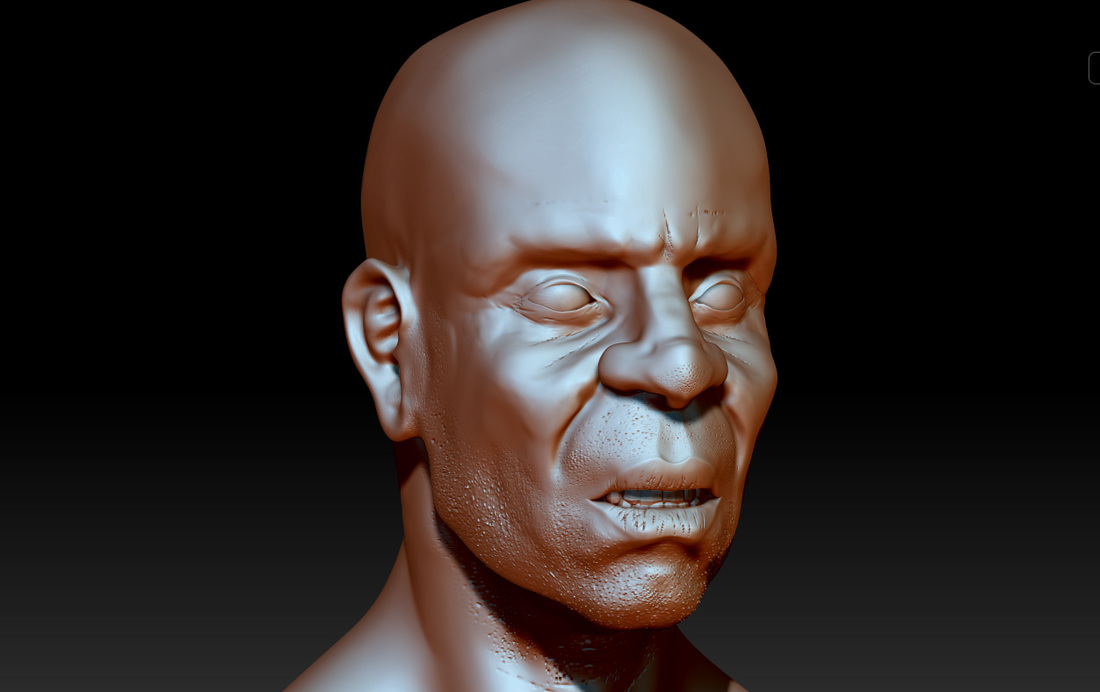
SWEET CHIN MUSIC |
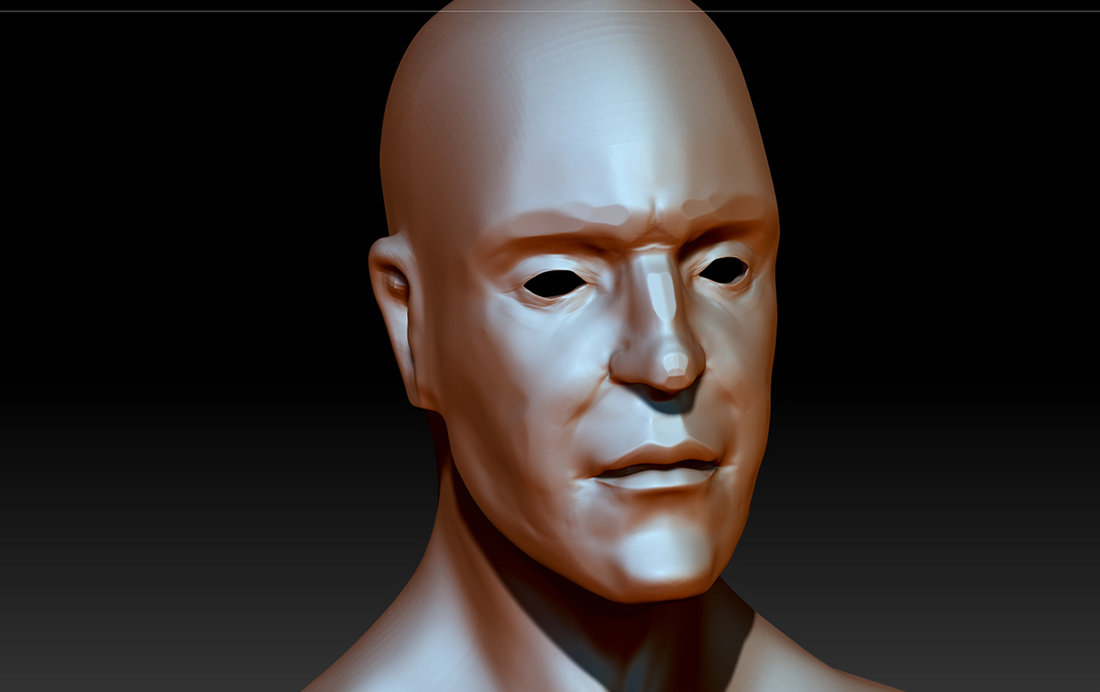
BROW RIDGE |
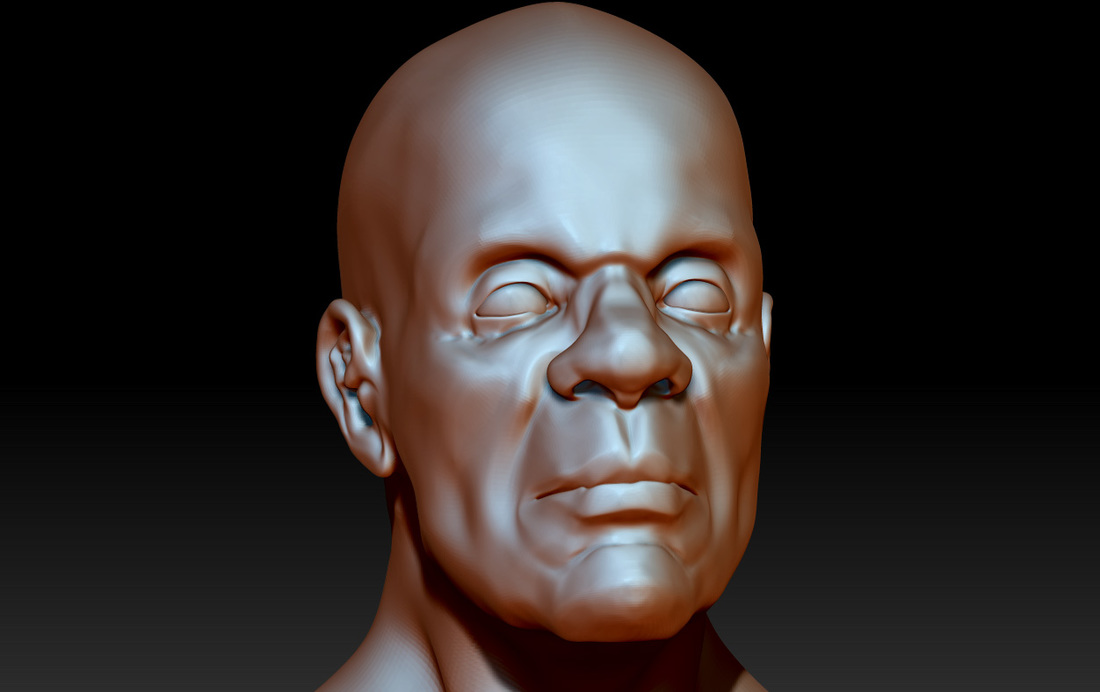
GENERIC CAUCASIAN |
|
|
CHANGE PROPORTIONS
30 mins from last save
1.5 hours for total face modeling
Same mesh but 3 different variations.
1.5 hours for total face modeling
Same mesh but 3 different variations.
EARS WIP
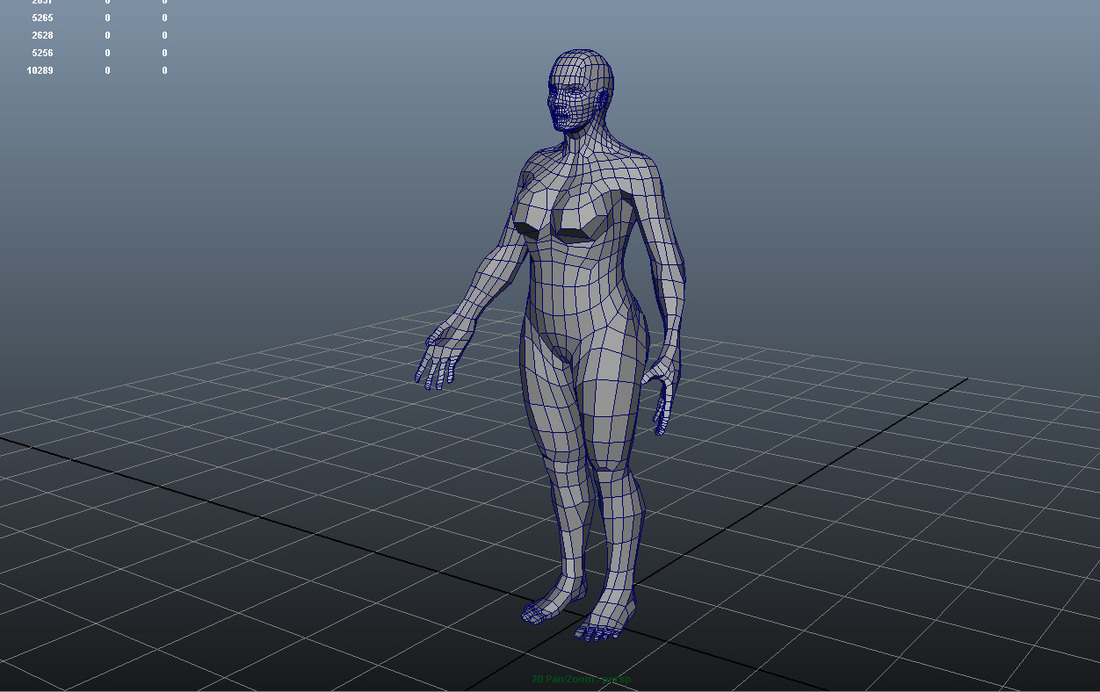
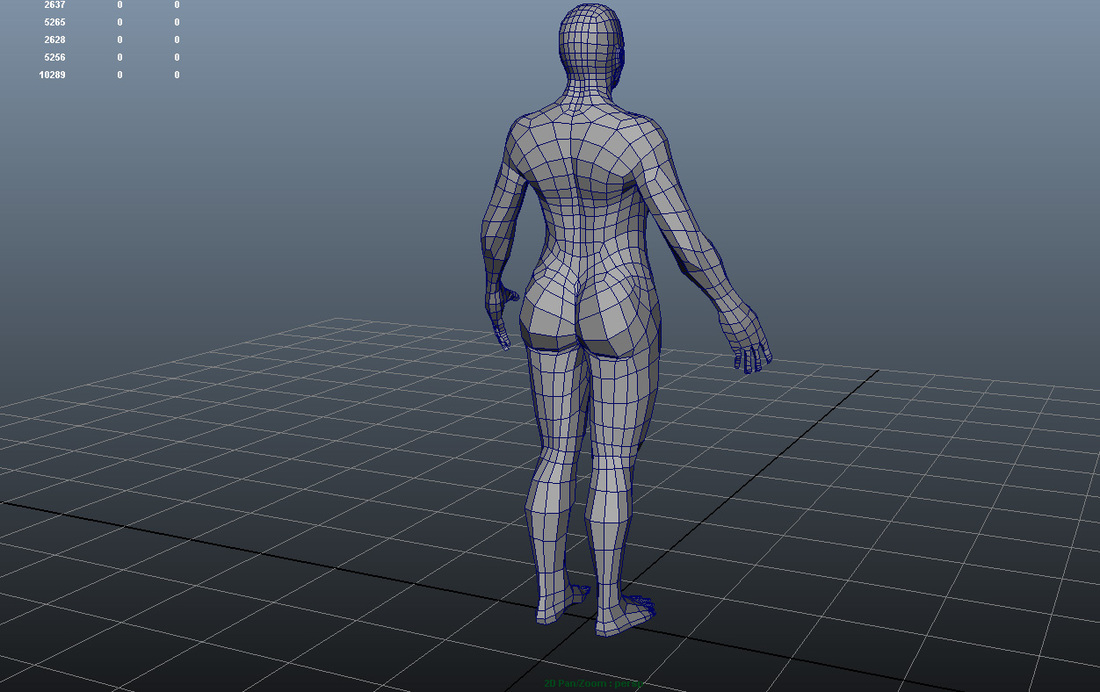
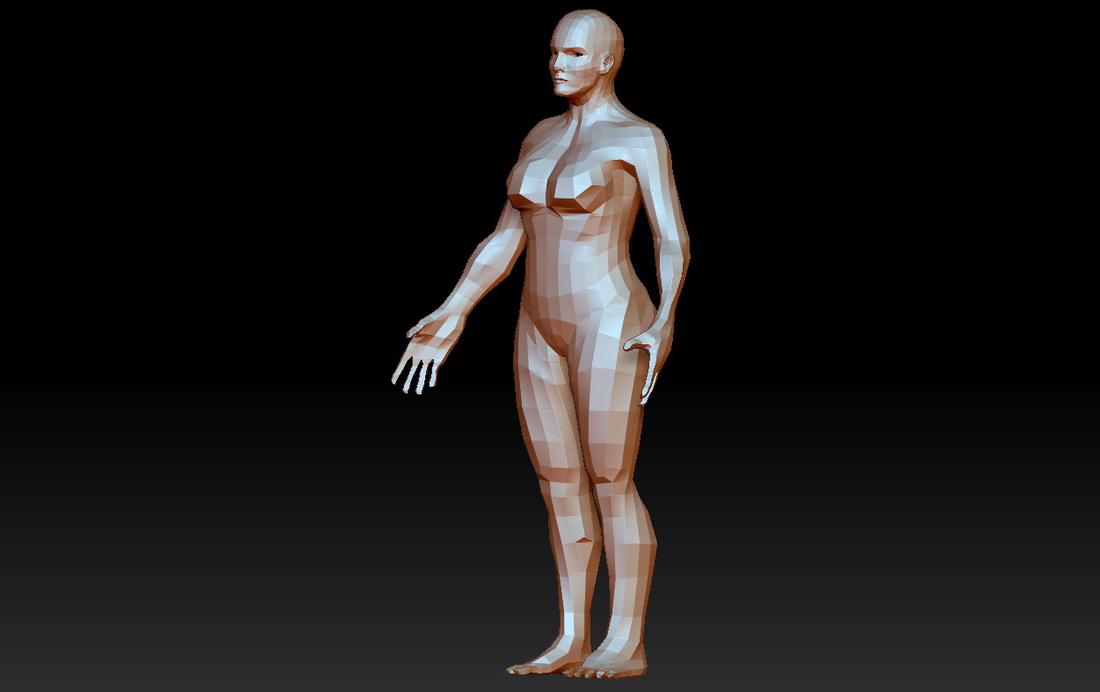
HYBRID MODEL
|
|
This mesh is a hybrid between box the simplifed box model as the Tareq MIrza spin face technique. I have an odd shape poly in the calf., one on each side of the neck, and I extruded the breasts, the triceps and spun parts of the back.
|
|
Never mind that the arms a bit long. At this stage, its just a generic female model with extrusion for the breast for topology sake. I don't need to fix the proportions until I decide a body type. This is a good stopping point. I have extrusions for the breast for models that might need it but for most cases a generic male model can be used to make female characters as well.
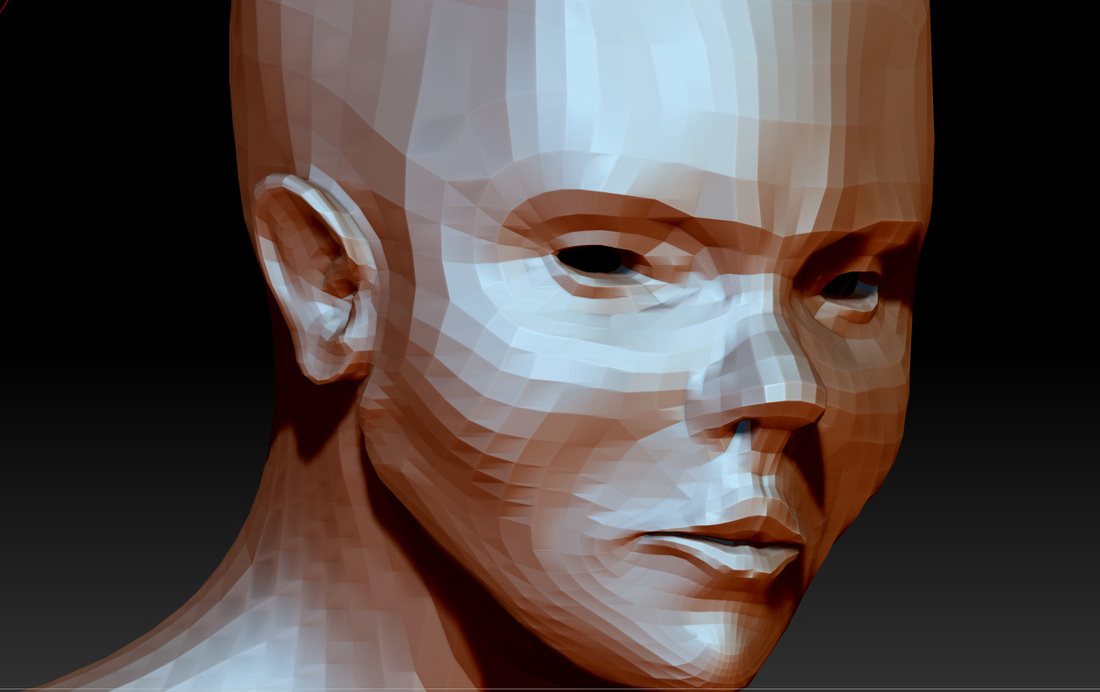
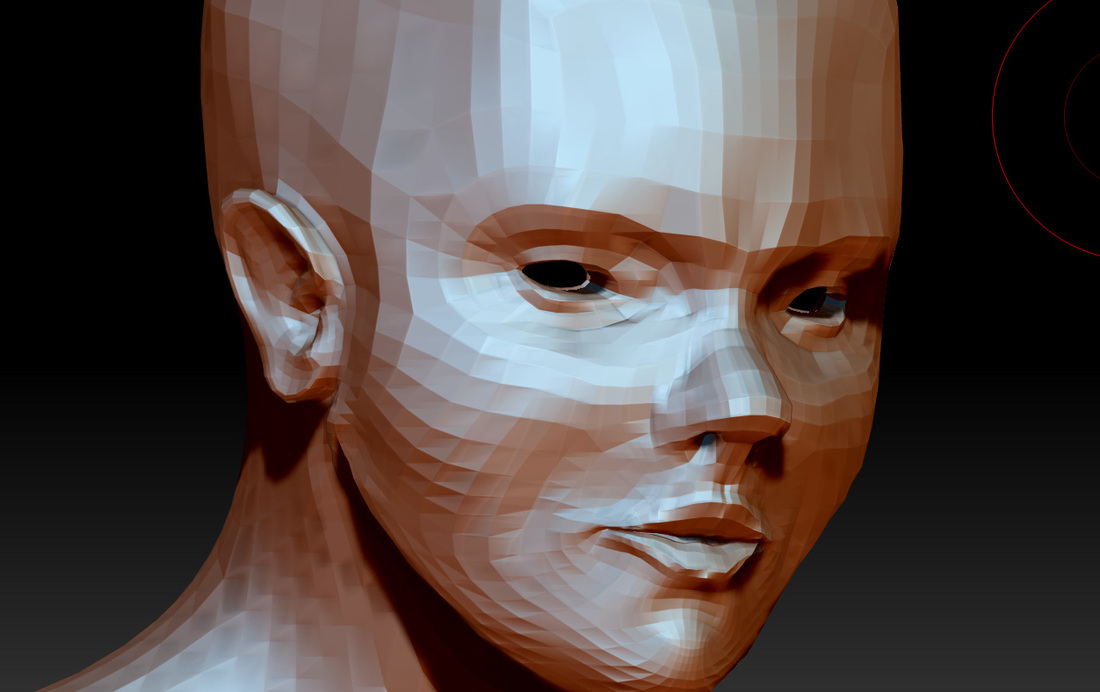
SCULPTING THE HUMAN FACE
EDGELOOPS FOR THE FACEAs long the are eyelid edgeloops. Holes in the eyes and nostrils and mouth and proper edgeloops around the mouth and eyes, then we can start to sculpt the face. Every malformed model is a different case before going to Zbrush. I don't like to waste time pushing vertices in maya to my facial design.
|
JAW STRUCTURE/BROWRIDGE/NOSEFirst is to move the jaw in to place. Lifting it to the ears makes this head more feminine. Flattening the brow ridge and making the nose smaller is important.
|
FULLER LIPSLips can be inflated and then pinched to create the plane surface.
|
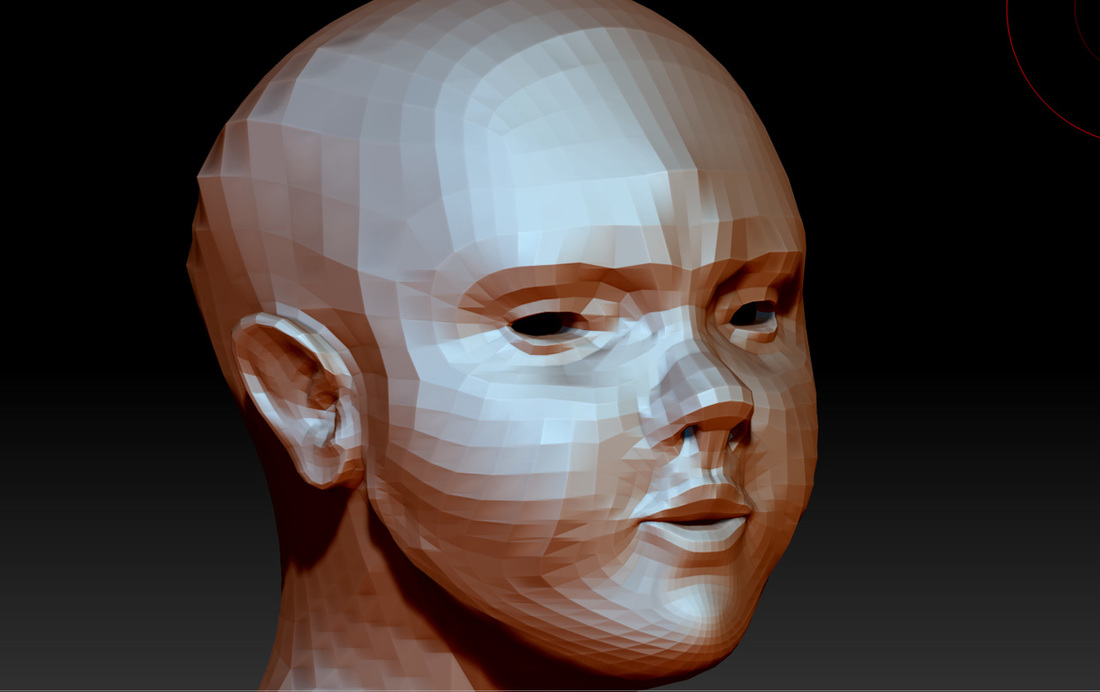
FOREHEAD NOT FIVE HEADAs you narrow down the face, you have to make sure you smooth out the top of the head and round it out to match the facial proportions.
|
CHEEKSAfter forming cheek bones, pulling out the cheek flesh gives the face a sense of youth.
|

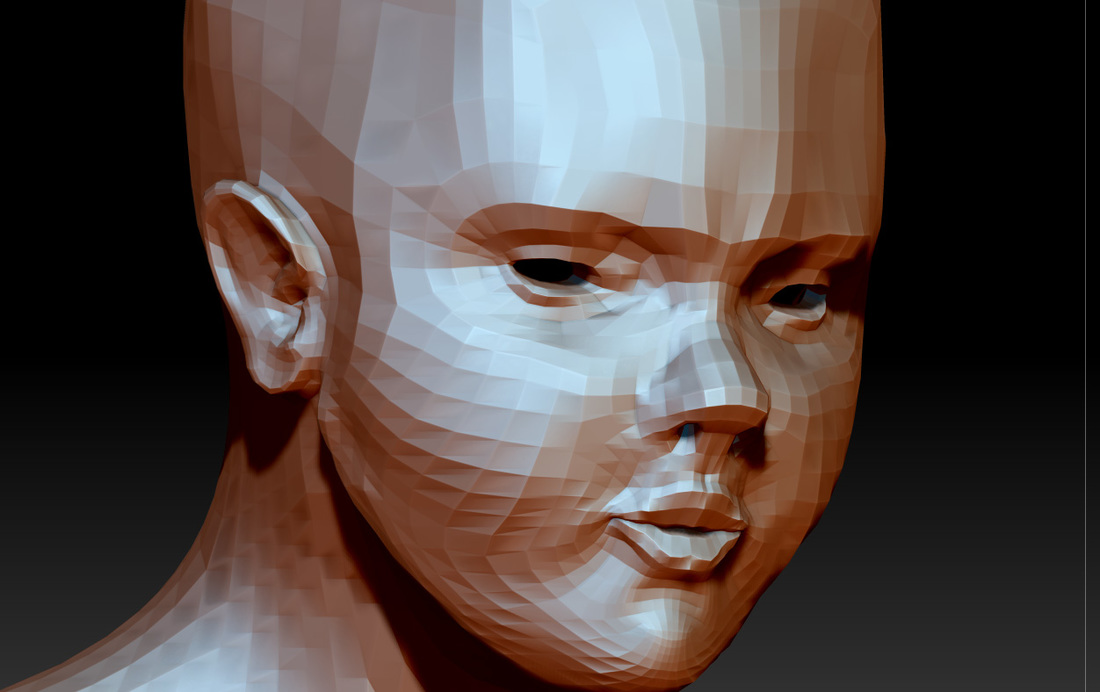
DETAILSRemember there is are muscles that run under the lips. Definitely more prominent in men but it needs to be there. Use the pinch brush for the divent above the lips, the eldges of the lips. I put a but of fat under the chin to make two surface but I might smooth it out more.
|
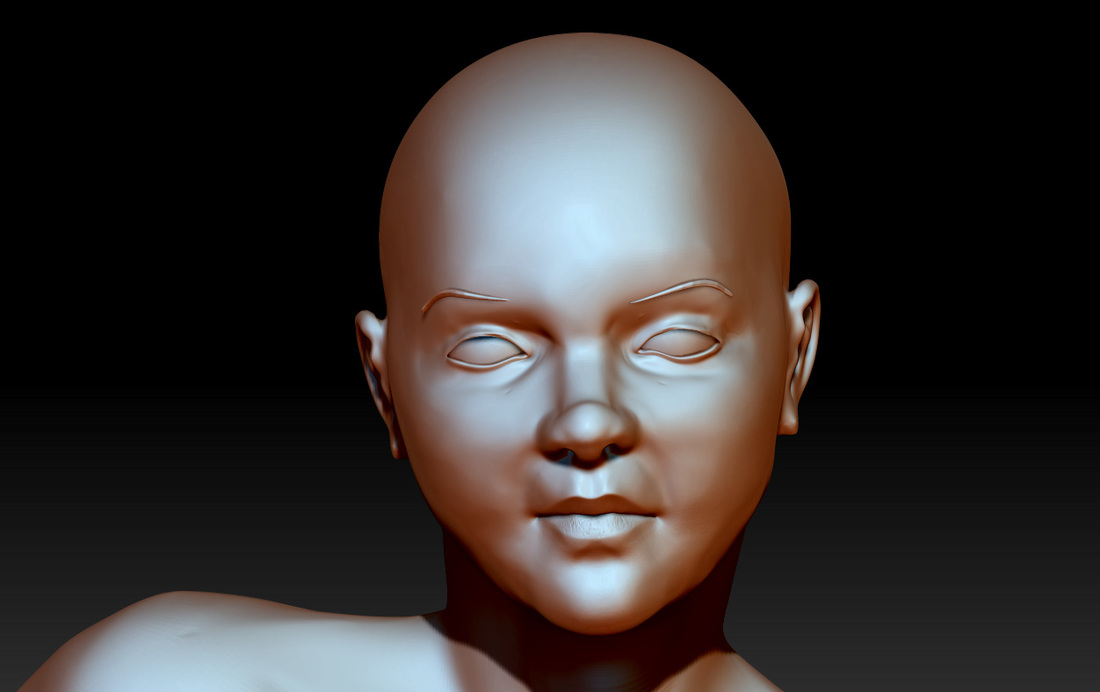
FINAL TOUCHES |
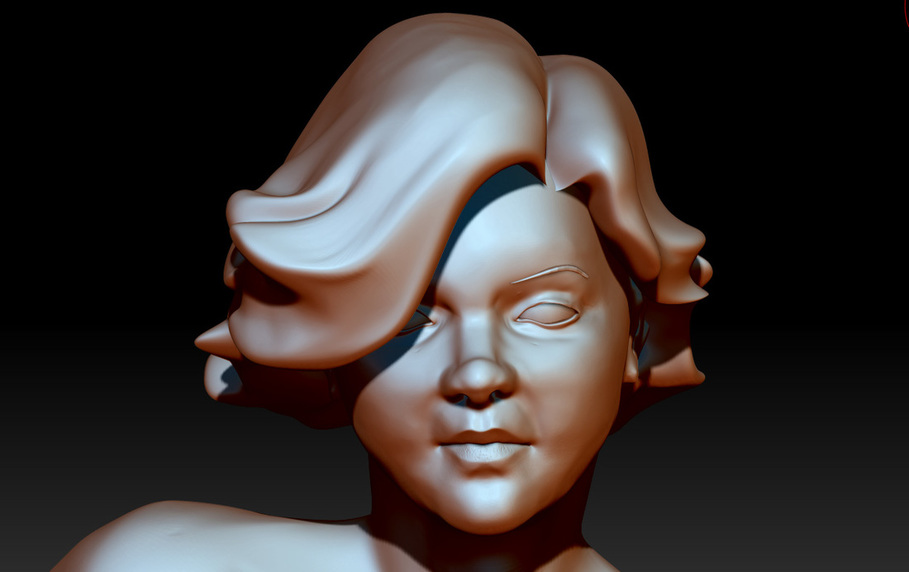
HAIR
We all know hair is something different in Maya. Its going to be a particle effect that we control with curves. In Zbrush 4R7 there is hair now but if I am just modeling a piece for myself, I treat hair like a volume. SOmething I can sculpt and move around or smooth like a wad of ice cream.